.avif)


Webflow forms are powerful tools that allow for the collection of data and interaction with people visiting your website. In a survey conducted by Hubspot, nearly 50% of marketers reported web forms as their best result-yielding lead generation tools.
This in-depth guide has everything you need to know about Webflow forms, from the basics set-up to more advanced customization options. Topics include:
- Anatomy of a Webflow form
- Setting up form elements
- Data management and notifications
- GDPR Compliance
At the end of this guide, you’ll have the skills necessary to create stunning forms that capture valuable information and improve user experience on your website.
What are Webflow Forms?
Webflow forms are tools that enable web designers and marketers to create forms that are custom, interactive, and built without complex codes.
These pre-built components seamlessly integrate with Webflow's intuitive visual design tools, enabling you to build engaging user experiences that convert leads and provide valuable insights.
Imagine web flow forms as a straight line connecting people on one side, who could be your customers or clients, while on the other side is precious data that can determine your business strategies, resulting in user satisfaction.
There are multiple forms you can create using Webflow. Let's explore their use cases.
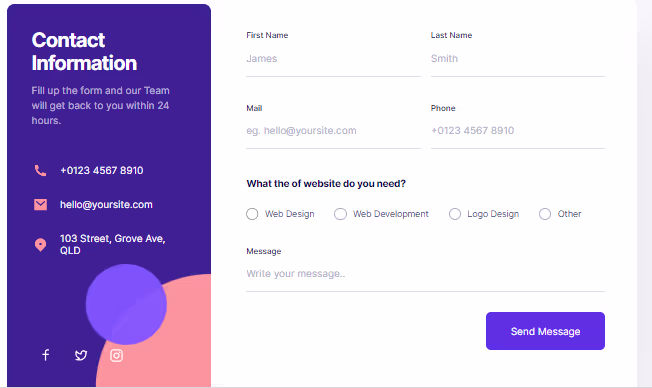
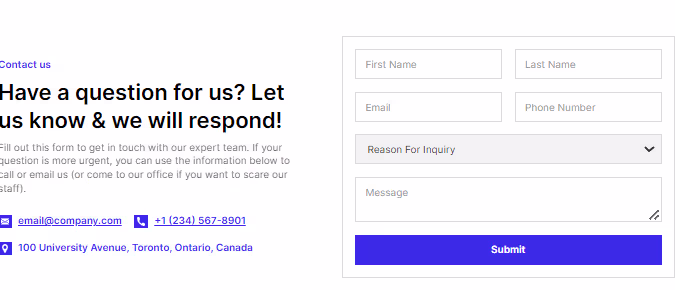
1/ Contact forms: 78% of customers buy from the first company that responds to their inquiries? Contact forms, with fields for email and name, facilitate communication so website visitors can reach out for inquiries or support.
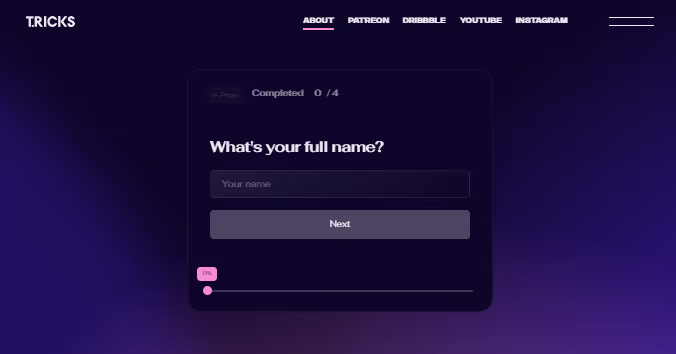
2/ Surveys: Do you want users’ opinions, preferences or even feedback? Just like customer satisfaction surveys after a purchase, advanced Webflow forms can provide deep insights through easy-to-use designs.
3/ Newsletter signups: A successful marketing campaign needs an active subscriber list. Effective marketing requires an active subscriber list. Use pop-up boxes in Webflow to capture attention and create subscription pages. Email marketing offers an average ROI of $42 for every dollar spent.
4/ Event registrations: Manage attendee information and RSVPs for webinars, conferences, or workshops with Webflow forms. Design signup forms that collect details, preferences, and payment methods, simplifying the enrollment process.
5/ Application forms: Simplify hiring by creating forms where applicants can upload their data and cover letters. Webflow forms allow easy collection of all candidate information in one place without downloading each resume separately.
How Do Webflow Forms Benefit Users?
Webflow forms stand out in creating webflow projects because they are easy to integrate.
Additionally, there are multiple customization possibilities through which you can modify the form layouts, choose field types, and validate them while styling them according to your brand's image. This allows you the opportunity to maintain uniformity in styling and designing throughout your site, making it look professional and cohesive at large.
Moreover, built-in features like validation, spam protection, and encryption come with Webflow forms to ensure better user experience and data safety too. Responsive layout helps the form appear beautifully on any device while auto submission handling guarantees its security.
Using SSL encryption and strictly observed data processing methods, you are also able to comply with privacy legal requirements, including CCPA and GDPR.
Anatomy of a Webflow Form
A Webflow form is made up of several core components. Let’s decode them one at a time to understand them better.
Form block

The webflow forms blocks are so powerful because they act as the ground upon which you can build an intuitive and effective form.
It takes up the entire width of its parent element in order to blend flawlessly with your website’s layout. It includes three major components—the Form, the Success Message, and Error Message.
[Block Element #1] - Form
The Form element is the structured area where all your forms' inputs and elements reside. It incorporates elements like text fields, dropdowns, checkboxes, or file upload buttons. It provides the framework for users to input data and interact with your website's forms. This structured approach enables you to design and customize your forms efficiently, ensuring they meet your specific requirements
[Block Element #2] - Success message
After a user submits a form successfully, the ‘success message’ flashes a confirmation text acknowledging their submission and offering any other required instructions.
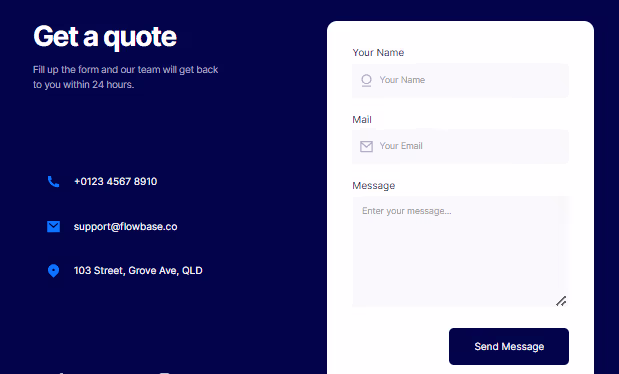
For example, a success message on a contact form may read, "Thank you for getting in touch! We will respond to you within 24 hours".
This ensures a positive experience for users and reinforces the process completion.
[Block Element #3] - Error message
Error messages assist users when there's trouble submitting a form, guiding them through potential mistakes or missed information.
For instance, if a mandatory field is left blank, an error message like "Please fill out all required fields" ensures data accuracy and helps users complete their applications smoothly.
Form Wrapper
In Webflow, a form wrapper isn't a specific element but a regular Div you name and style to group all your form fields and related elements.
This offers organization by applying styles to the entire form section, better responsiveness by controlling the wrapper's behavior across screens, and the potential to add interactions to the whole form at once.
Now let’s delve into various Form Elements available in Webflow:
Webflow Form Elements
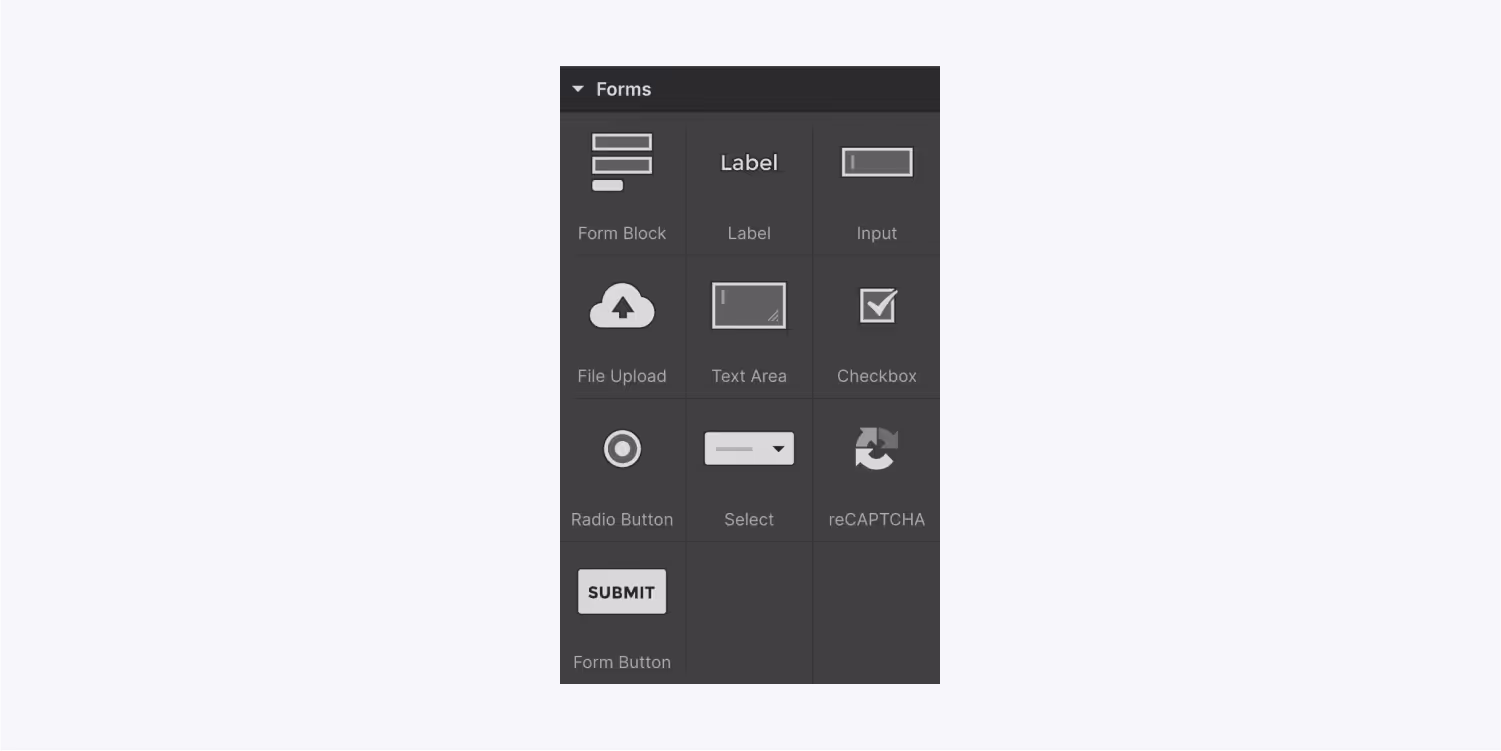
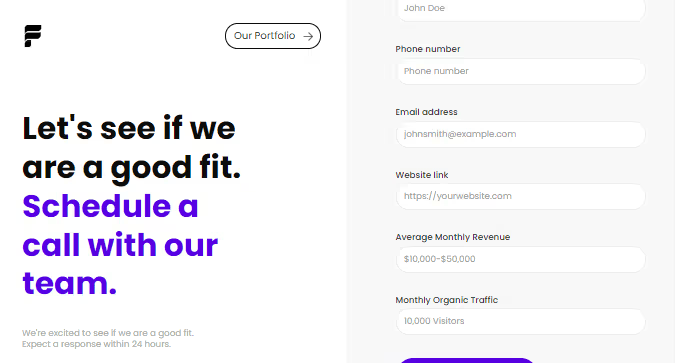
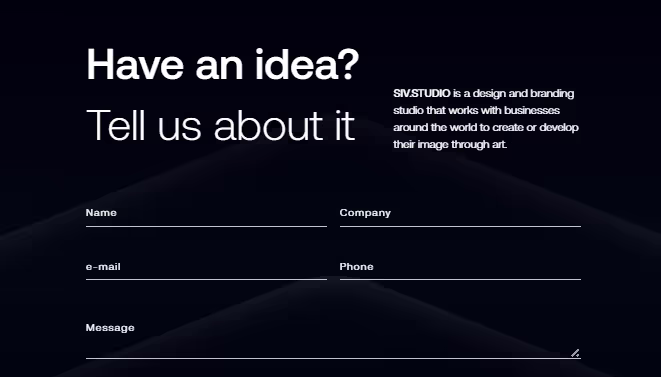
[Form Element #1] Text Fields: These single-line input fields capture short text responses, such as a user's name, company, or brief answers.
[Form Element #2] Email Fields: Webflow provides email input fields with built-in validation, ensuring correct email formatting and reducing invalid submissions. For example, a newsletter signup form benefits from using an Email Field to capture accurate subscriber information.
[Form Element #3] Text areas: These multi-line input fields are ideal for longer text responses, such as detailed feedback, descriptions, or messages.
[Form Element #4] Dropdowns: They are also known as select menus which offer users predefined choices to pick from, making them ideal for fields where one value needs to be chosen, such as country, category, or preferences. For instance, an enrollment form may have users select their preferred communication language using a select menu.
[Form Element #5] Radio Buttons and Checkboxes: These input fields allow users to select either a single option (Radio Buttons) or multiple options (Checkboxes) from a group of choices. Radio Buttons are commonly used for mutually exclusive selections, like gender or subscription plans, while Checkboxes are ideal for capturing multiple preferences or agreeing to terms and conditions.
[Form Element #6] File Upload: If you want users to attach files to their submissions, you can use the File Upload element. It accepts different kinds of files, such as documents, images, or media, and has options to customize upload buttons and restrict file size.
As an example, a job application form might contain a File Upload field for candidates to submit their resumes or portfolios.
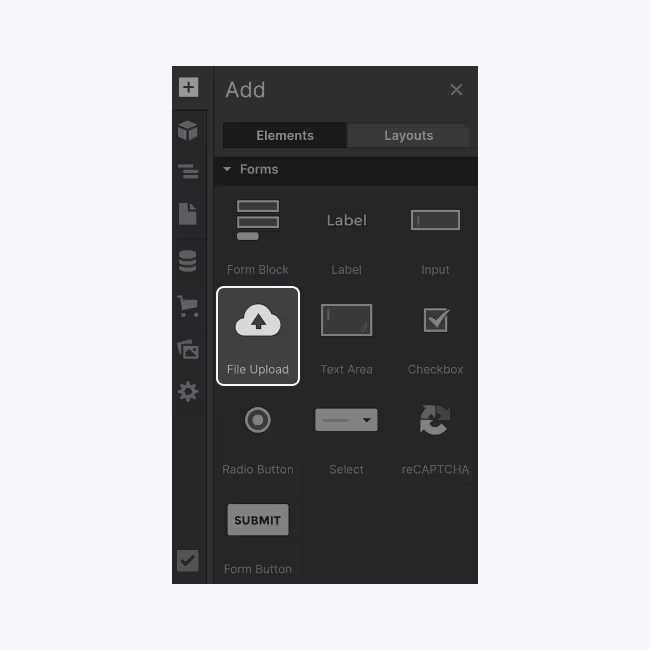
[Form Element #7] reCAPTCHA: To protect your forms from spam and automated submissions, Webflow integrates with Google's reCAPTCHA service. This ensures that only human users are able to complete the forms, ensuring data accuracy.
Configuration of Form Elements
To find the settings panel for a specific Webflow form element, do as follows:
Double-click on any form element you desire on the canvas; this will open its settings panel. Alternatively, press the enter or return key on your keyboard when any form element is selected.
Under the settings panel, various customization options like name, label placeholder text, etc, can be found in relation to each of these form elements.
Proceed to modify this by making changes within this setting panel.
NOTE: Every kind of form element has its own respective relevant fields (e.g., input field, checkbox).
Close it by clicking outside the settings panel or just pressing the escape key after making the necessary changes. The adjustments will save automatically, leaving behind reflection in the change made on the actual web form.
With access to these settings through, you can alter every aspect relating identity functions, web flow forms, appearance behavior, and functionality towards each component.
Input settings
There are sets of configuration choices for input areas in Webflow. Below are the important ones:
- Name: This is issued so that one could give the input field an appropriate description name, which could help identify it better and also organize the way it is done, i.e., there should be some meaningful names, if possible, like "First Name" so that people can understand, what exactly should be filled.
- Label: It is the text that appears next or on top of an input field. It gives the user a clear idea or instruction, which prompt them to enter certain information.
- Placeholder: When you put some examples or tips for users within the input field itself. For instance, you can set the placeholder for an email field to "Enter your email address."
- Required: Indicates whether this field must be populated in order to submit the form. This ensures that you get important details like obligated selection and contacts.
Thus, a few settings available in Webflow are shown here for input sections.
When exploring the settings panel of each input field then, there are further specifications dedicated to each web form's need only.
Other input settings
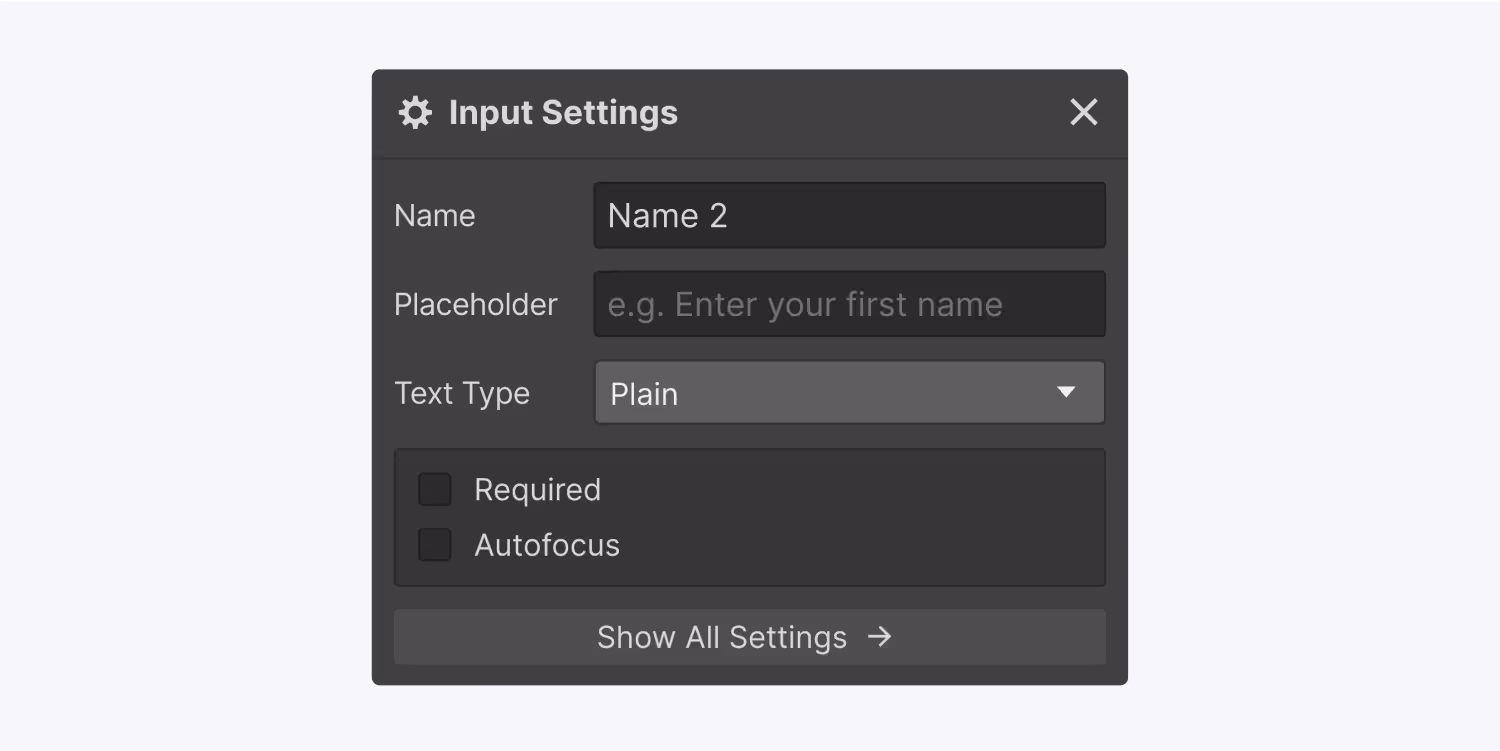
- Text Type Options. You can choose from different text types, such as Email, phone, and password, which are associated with fields that users have to type. Each kind of text has its own format rules and validation, enhancing user experience and making data trustworthy at first sight; e.g., Email validates addresses entered, whereas Password hides sensitive info by using asterisks.
- Autofocus: The autofocus automatically sets the focus on an input field, which is a very important part of a webpage. This simplifies the process of filling in forms by making it possible for users to start typing instantly. Nevertheless, it should be used sparingly because it can induce unexpected scrolling on lengthy forms that could impair its utility.
Submit button settings
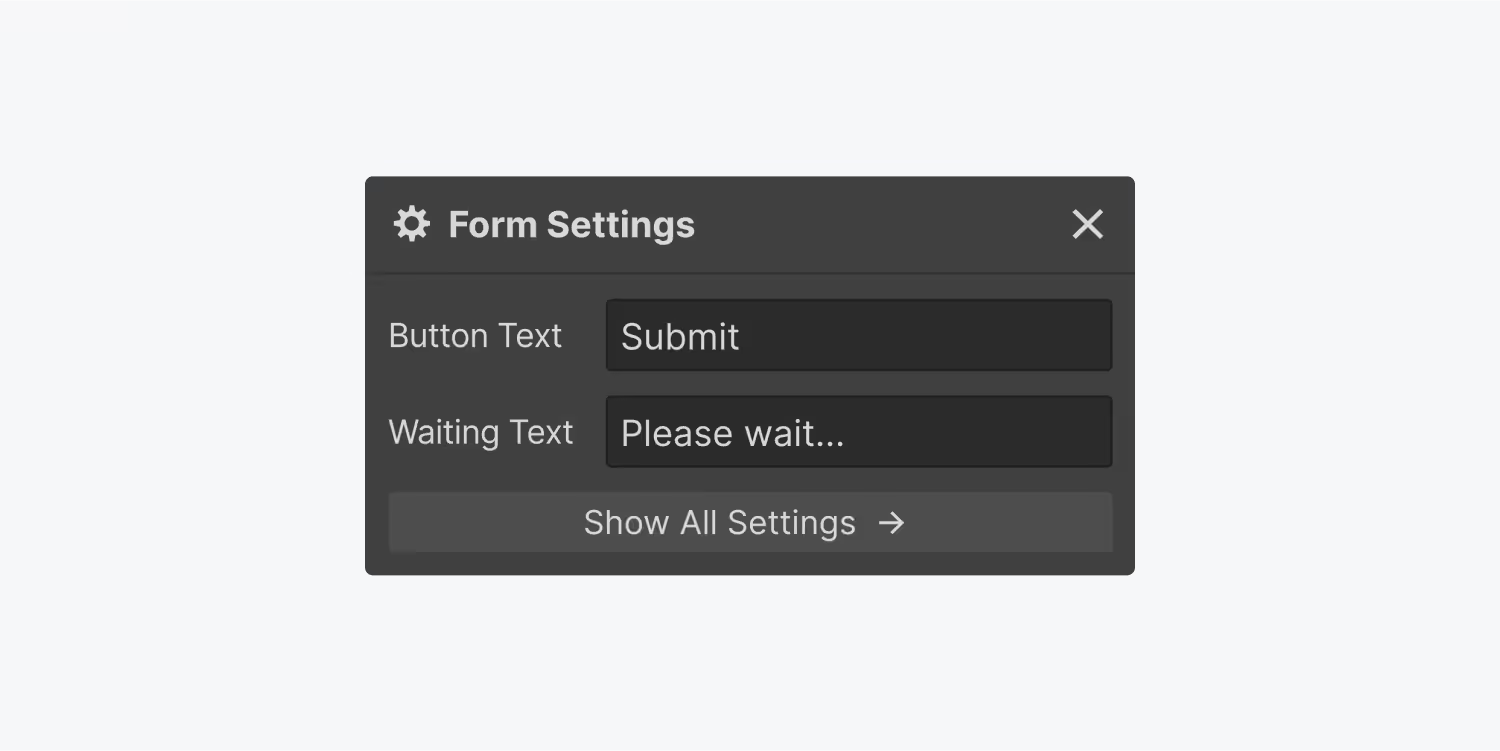
Submit button settings are important when designing a form in Webflow.
Below is how the submit button can be set up:
- Button Text: This is where you customize the text displayed on the submit button to let users know what it does. For instance, rather than having "submit" as your default phrase, you may choose phrases such as "send message," "subscribe," "complete purchase," etc.
- Waiting Text: While the form is submitted and processed, this text will be displayed on the button. It helps give feedback to users to know that their submission is ongoing. Examples include sending…, processing…, or please wait…
- Button Style: To match your website's design aesthetic, alter the visual style of your submit button. Through style and settings, the background color, text color, border, and padding, among other CSS properties, can be modified.
- Button Position: Adjusts the position and alignment of a submit button within a form layout. You would use layout settings to move it around, aligning it left/middle/right in relation to a form, for example.
- Button Interactions: Set up any interactions or animations that will appear once a user clicks on or hovers over this Submit button. These typically include effects upon hover or click, like spinners, while they work.
- Form Actions: Set up the actions that occur when the form is submitted successfully. Options include showing a success message, redirecting to another page, or triggering additional workflows or integrations.
Success and Error States
When filling out forms online, effective success and error messages are very important for a smooth experience.
You also have the opportunity to modify these messages from Webflow so that they can be more helpful and understandable, especially if one takes the time to read them carefully.
To edit these messages:
- Click the form within the form block.
- Open Settings (D)
- Go to Form settings
- Click on the State you wish to edit - Normal, Success, or Error
Success state
When a form is successfully submitted, instead of a generic "Form submitted" message, consider something more engaging like:
"Thank you for contacting us! We'll get back to you within 24 hours."
This shows appreciation and sets expectations for the next steps.
Error state
To help fix errors faster, error messages must be specific and actionable. Rather than using a general message such as 'Error,' go for clear instructions like:
- "Please type a valid email address."
- "Please fill in all required fields."
This helps users to identify their mistakes and correct them in less time.
Form Submissions and Form Data Management
When a user submits a form on your Webflow site, a seamless process is set in motion to capture and manage the submitted data efficiently. To handle the submission of forms without breaking sweat, Webflow has an inbuilt form submission handling feature which ensures safe storage of data as well as easy access.
Upon form submission, Webflow automatically sends email notifications to designated recipients, keeping site owners and relevant team members informed about new submissions. These notifications provide real-time alerts that can be acted upon immediately.
By going to your project settings on Webflow, you can set up the email notification. Here, you can choose several e-mails that shall receive an alert when any form is submitted.
Additionally, you are able to determine your own content and subject emails as well, supporting this by including data fields from the form and company branding elements for context and recognition improvement.
Accessing and managing submitted data
In the project settings, Webflow provides a centralized hub to access and manage data submitted through forms. The "Forms" tab is designed for this purpose; it is an interface where you can view, sort, filter, or search submissions by certain parameters.
On clicking the "Forms" tab, you will see a list of all form submissions with good organization for easy browsing. Some necessary details like submission date, time, form name, and submitted data are displayed along with each submission.
If you want to see submissions in chronological order or sort them by form name or any specific field of the form, Webflow allows that to be done easily. Moreover, an advanced search feature is provided too, which enables finding particular entries quickly based on keywords or custom criteria, especially when there are bulk submissions involved.
Webflow has taken care even about those who prefer working offline with data or need integration of form submissions with other tools. Therefore, it offers a seamless export option so that one can download CSV file of submissions within seconds, ready for further analysis in Excel or Google Sheets.
CSV files exported out of Webflow contain neatly arranged columns and rows holding all form submission data beneath respective titles. This format makes it easy to manipulate, analyze, and share information, hence enabling insights generation, report making, or even importing into different systems.
Form notifications
Webflow makes it easy to set up form notifications and adjust form notification settings so that you can receive them quickly and efficiently.
To configure notifications, go to your project settings and click the “Forms” tab. From here, you can choose where and how you want to receive form submission notifications.
Enter the email addresses where you’d like the notifications sent — you can add multiple recipients to keep different team members or departments in the loop about new submissions. This is especially helpful for collaborative projects or when different people handle different types of form inquiries.
Then, personalize the notification email template to match your brand and provide the necessary context. You can customize the email subject line and body with form data and other relevant details.
This personalization adds clarity and context to these messages, making it easier for recipients to understand them and take appropriate action.
To optimize data management through notifications, consider a few best practices:
- Establish a clear naming convention for your forms and form fields: This helps you quickly identify what each submission is for or about.
- Use Webflow's filtering and labeling features to automatically sort and organize form submissions: By setting up filters based on criteria like form name or submission date, you can easily find specific sets of data. Labels further help organize things by allowing you to tag submissions with keywords or categories.
- Think about integrating Webflow forms with third-party tools or services that can help automate data management tasks: For example, use Zapier for automatic data syncing with a CRM platform, or trigger actions based on form submits such as assigning follow-up tasks through Trello or sending personalized responses via MailChimp.
GDPR compliance
Businesses that comply with GDPR have seen a 20% increase in performance.
If you’re collecting user data through Webflow forms, it’s important to know your responsibilities as a data controller under GDPR (General Data Protection Regulation).
As a data controller under GDPR, there are legal obligations around ensuring privacy and security of any personal data collected.
Explicit permission should be sought from individuals before their private details are taken in accordance with GDPR. This calls for giving them clear and brief explanations about what information is being collected, why it is being collected and how it will be used.
It should be done transparently so that any person can access this information readily through a privacy policy or consent checkbox.
Here is a 7-point checklist for obtaining consent and managing personal data:
- Include checkboxes or statements requiring people to opt into data collection actively; do not use pre-ticked boxes or assume consent as per GDPR principles.
- Provide links directing users towards your privacy policy which should disclose among other things; how long you keep user’s data, what rights they have under GDPR etcetera. The language used must be simple enough for everyone to understand while making sure that this document remains easily accessible throughout all web pages having such forms.
- Use appropriate security measures designed at safeguarding against unauthorized access including encryption during transmission storage restrictions limited only authorized personnel.
- If acting on someone's behalf, then clearly outline roles played between both parties, i.e., processor vs. controller; where necessary, contractual agreements like processing agreements ought to be obtained by controllers from processors while still ensuring that clients acting as controllers have gained the required consents provided relevant privacy notices too;
- Ensure careful evaluation of third-party tools’ privacy practices/data handling procedures whenever integrating them within web flow forms.
- Verify whether such instruments conform with GDPR stipulations and possess sufficient levels of security measures.
- Acquire all relevant contracts, such as DPA, needed for governing the transfer/handling of personal information between different entities.
Troubleshooting Common Form Issues
Dealing with form problems in Webflow may be annoying, but don't panic!
This section will discuss some frequently encountered issues and guide you step by step towards their solutions so that your forms get back on track again.
- Non-functional forms are often seen where they fail to submit themselves or respond as expected; therefore, check if everything is set up correctly here. Verify if the correct form submission endpoint has been connected properly by going through each setting carefully, including the required field configuration too, while ensuring the HTML structure doesn't contain syntax errors or missing closing tags.
- Many people complain about too much spam being received through their forms. Hence, to avoid this implement some anti-spam measures like reCAPTCHA or honeypot fields. Such techniques help to differentiate between human users and automated bots which in turn reduces the number of unwanted submissions coming through. Additionally, server-side validation can be considered as a way to filter out suspicious or malicious entries.
- Form styling or layout issues might arise if the CSS applied on them is not right; therefore, go ahead and inspect your forms' CSS, checking whether styles are being applied correctly. Find out if there are any conflicting styles or overriding rules messing up with how your form appears then use browser developer tools for fixing such CSS bugs.
Webflow form integrations and extensibility
When creating forms that are user-friendly and accessible, there are a number of things you should always bear into consideration.
Make sure all form fields have clear labels alongside with instructions that guide users effectively. Use descriptive placeholder text to indicate example input formats expected within each field. Apply client-side validation so as to provide instant feedback plus error messages, thus allowing users to correct any mistakes made during filling without submitting again.
Ensure security for forms by following best practices like encrypting data transmitted over HTTPS; this ensures user data remains safe throughout its journey from one point, e.g., web browser, to another, e.g., the server where it gets stored.
To stop likely script injection attacks, execute validation and sanitization on the server side of user inputs. Secure sensitive information in accordance with GDPR and similar data privacy laws.
Smooth form operation mandates periodic maintenance coupled with updates. Keep track of the newest Webflow versions alongside changes that may be made on third-party integrations or plugins you are using.
Magnify the Power of Webflow Forms with Amply
Forms created through Webflow are a game-changer for enterprises seeking to simplify their data collection process and improve the usability of their website’s users.
But really, Amply can even take you further than that! Do you want to know how? Contact Amply today and learn how our team of professionals can help you realize the full possibilities of your forms by ensuring smooth data handling, GDPR conformity, and better conversions.


.avif)