These days, having a website that looks great and works well is super important if you want your business to succeed online.
WordPress is a popular choice, powering over 40% of all websites worldwide.
However, as businesses grow, they often face issues like slow loading times and compromised security vulnerabilities with their WordPress website.
This guide will explain why you should switch from WordPress to Webflow and walk you through the process step-by-step. We'll start with planning and preparation, move on to the actual migration, and finish by wrapping up the process to ensure everything goes smoothly.
By the end of this article, even non-techies will be able to understand how to optimize their new Webflow website for better performance and user experience.
Understanding the Differences: WordPress vs. Webflow
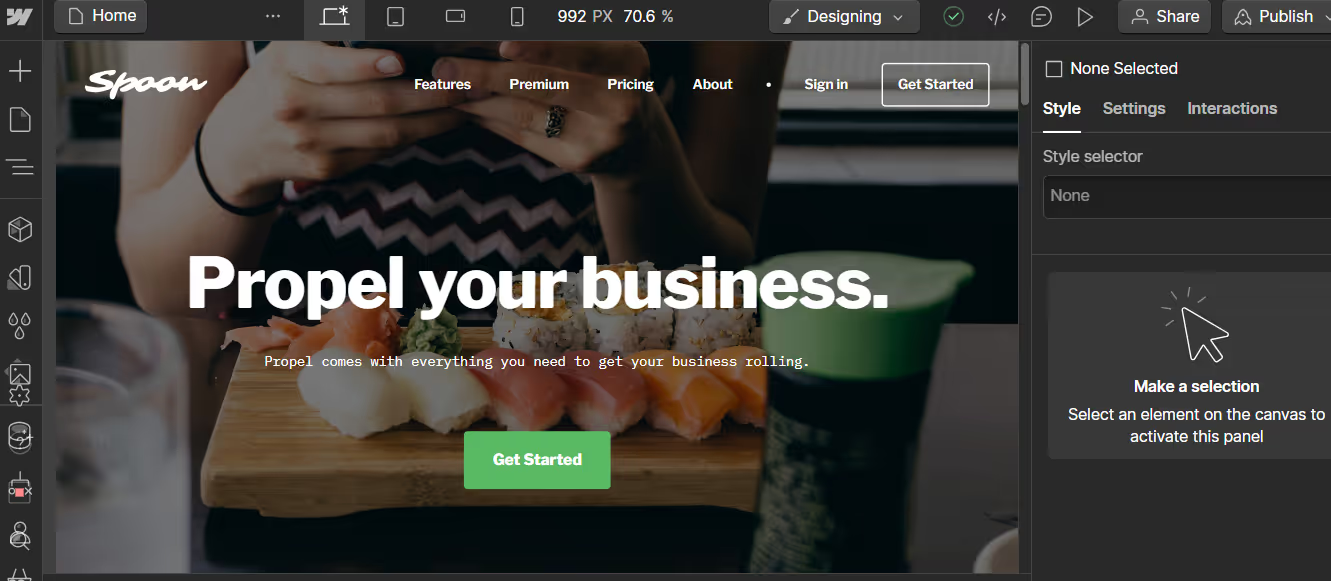
While WordPress and Webflow are efficient site builders, these platforms were designed with different aims.
WordPress is an open-source CMS that has customizable themes and plugins. Though it is used by 43.3% of the total websites, it comes with its share of problems. These include limited speed capacity and security concerns (remember it’s an open source platform?), among others, that may limit a website's scalability due to extreme dependence on plugins.
On the other hand, Webflow takes a more holistic approach by combining design, content management, and hosting into a single, visually oriented platform. With its no-code approach, Webflow enables faster and more efficient website creation, empowering designers and marketers to bring their visions to life without relying heavily on developers.
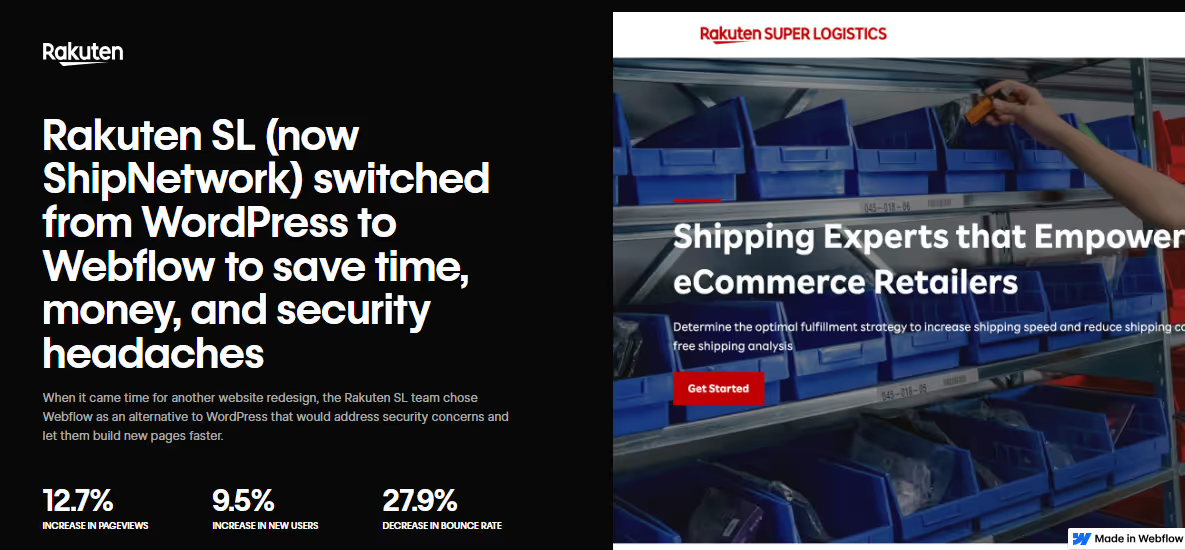
As an example, Rakuten SL (Now ShipNetwork), decided to move its WordPress site into Webflow. As a result, the company saw a significant boost in its page views and user base and a drastic decline in bounce rates.
Moreover, Webflow CMS delivers clean, optimized code for up to 3x faster page loads than WordPress, providing a seamless user experience.
Reasons to Migrate from WordPress to Webflow
If you’re dissatisfied with your WordPress site, you’re not alone. Recent trends show a rise in people who’re frustrated with WordPress site and are looking for alternatives. They need something more flexible and easier to use to help them stay ahead of their competitors.
This is exactly where Webflow comes in.
So, it’s no surprise that a lot of companies are making the switch from WordPress site to Webflow.
“Since switching from WordPress to Webflow, we've saved thousands of dollars over the past few months. My team can now make changes in 20 minutes, which used to take an expensive programmer 4-5 hours.”-Sarah Smith (MARKETING OPERATIONS MANAGER, RAKUTEN SL)
Reason #1: Simplified Design and Development Process
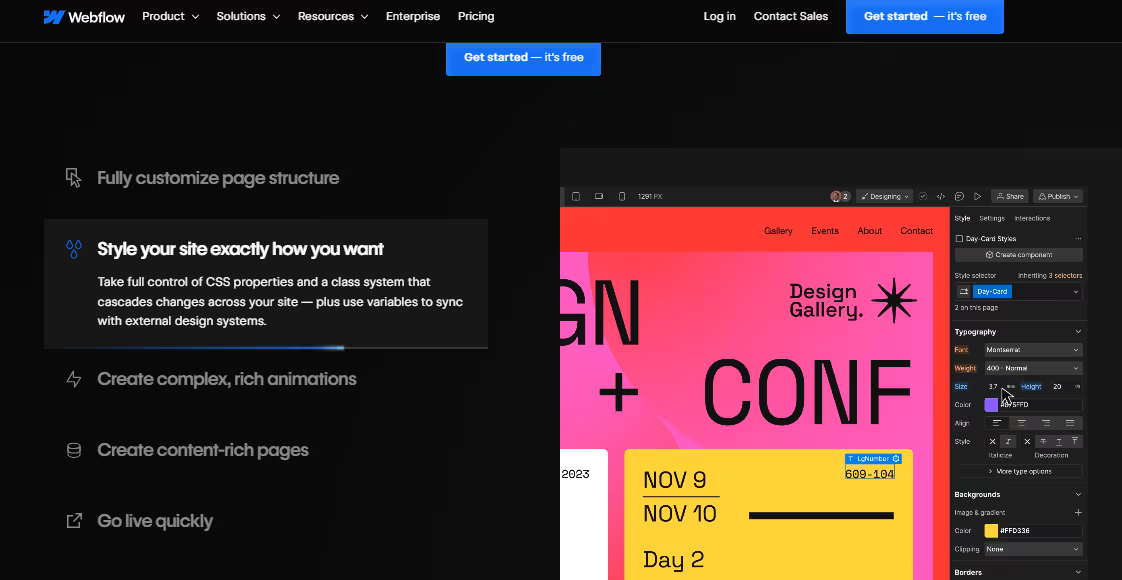
Webflow is quite popular due to its simplicity throughout the entire design and development process. It uses a WYSIWYG approach where you can edit and view web design progress in real time. A collaborative environment means that teams can work together and make changes quickly.
That's a huge time-saver, and it's why companies like Dell use Webflow to create high-quality prototypes faster.
Reason #2: No-Code Approach Empowers More Team Members

You don't have to be a coding wizard to develop an amazing site using Webflow.
This no-code approach is a big deal for businesses that want to put website management in the hands of more people.
“We had an outdated WordPress site that was difficult to update, and none of our engineers wanted to deal with it. Additionally, we lacked any reporting tools on the blog, leaving us without any insight into the effectiveness of our content strategy efforts.”
- Christopher Patota (PRODUCT MANAGER, FRESHLY)
Reason #3: Improved Performance and Speed
Webflow's performance speaks for itself. Websites hosted on the platform are known to load faster than others due to their optimized code and hosting setup. This is important for happy visitors.
In fact, the bounce rate can increase by 32% if the page takes 3 seconds or more to load.
This is because Webflow does not depend on several plugins like WordPress, reducing the risks of code bloat.
Reason #4: Enhanced Security and Reliability

Online businesses prioritize website security and reliability to ensure customer data security and continuous uptime.
Webflow helps with security and reliability by providing built-in hosting on fast, secure servers, automatic backups, and SSL certificates, ensuring your website is safe, stable, and always available to users.
Reason #5: Scalability for Future Growth
WordPress content management system struggles with scalability due to performance issues with high traffic, reliance on numerous plugins, and limited customization options for complex requirements.
Webflow CMS is better than WordPress for scalability because it offers built-in hosting, optimized performance, and a code-free development environment, reducing the need for plugins and extensive customization.
In addition, Webflow’s visual design controls and component-based structure make it easy to update changes as your business grows.
Reason #6: Non-Dependence on External Plugins
WordPress plugin. A term loved and feared by all WordPress users. These plugins extend the platforms functionalities but at the same time tend to make the website slow. The more number of plugins you use, the more complex and difficult to manage your site becomes.
Webflow CMS, however, eliminates the need to use external plugins with its extensive suite of in-built features. Even if you use integrations and apps, they rarely slow down your website.
Reason #7: Streamlined Collaboration and Client Management
Webflow CMS also makes collaboration with clients easier than ever. This means teams of designers and content developers find it simple to work together using this platform's collaborative tools while dividing permission levels.
Also worth mentioning is that Webflow’s client billing feature simplifies managing client billing and site transfers, reducing paperwork and building strong relationships with clients.
Pre-Migration Planning and Preparation
Migrating from WordPress to Webflow is a relatively straightforward process. But before diving into a WordPress-to-Webflow migration, evaluate your current website thoroughly. Take stock of all pages, posts, and media assets to determine what needs transferring. Review your existing plugins and custom functionalities to find equivalent solutions in Webflow.
Set clear goals for your new site, like design freedom, improved performance, and easier maintenance. Identify key features, functional components, and integrations necessary for a seamless transition.
Plan your content migration by deciding which content to transfer, update, or archive. Map out your content hierarchy and relationships, using a spreadsheet to match WordPress website pages, posts, and custom post types to their corresponding Webflow Collections and pages.
Finally, allocate a budget and assemble a team of key stakeholders, including designers, developers, content creators, and marketing specialists. Consider hiring a Webflow partner agency or expert to ensure a smooth and best-practices-compliant migration.
Requirements for WordPress to Webflow Migration
Below are a few things required for a smooth migration process:
- Choosing the Right Webflow Plan
You'll need to choose the right Webflow plan based on your website's needs. This means considering the number of CMS items, bandwidth, and form submissions you expect to have.
Here's an example: Webflow's Basic plan can be suitable if you just want a static site with limited functionality, but it may not be enough if you want to operate content-driven marketing through your website.
- Building Expertise and Providing Training
Since both platforms are starkly different, equip your team with the necessary skills required to navigate the new Webflow project effectively.
This ensures a smooth transition and reduces the risk of errors or misunderstandings during the migration process. This empowers your team to use Webflow's features efficiently, optimize website performance, and maintain design consistency.
This ultimately leads to a more successful migration and enhances your team's capabilities for future projects.
- Partnering with Webflow Experts
If you feel overwhelmed or lack in-house expertise, consider partnering with a Webflow expert or agency like Amply. They can guide you through the migration process, share best practices, and provide support.
After all, a smooth migration is key to ensuring the success of your new Webflow site.
5 Steps To Migrate from WordPress to Webflow
Here is a step by step procedure to migrate from WordPress to Webflow.
Step #1 – Exporting Content from WordPress
The first step is to export all your content from WordPress. You can use the built-in WordPress export tool to get your pages, posts, and custom post types in XML format. It's a pretty straightforward process:
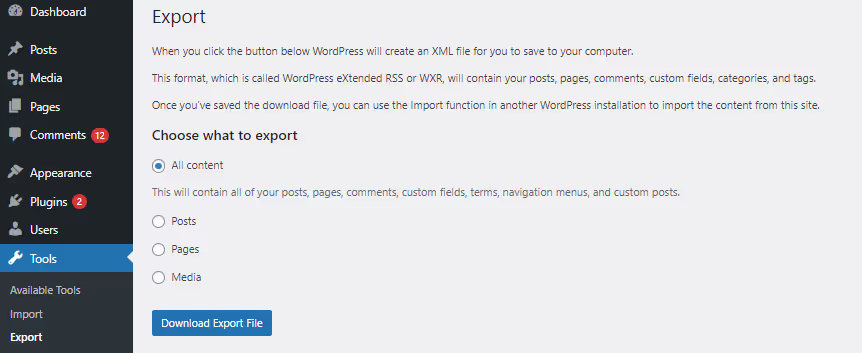
- Head to your WordPress dashboard and navigate to "Tools" → "Export."
- Choose what content you want to export. If you want everything, select "All content."
- Click "Download Export File," and your XML file will start downloading.
If you want to get a bit more granular with your export, you can use plugins like "WP CSV" or "Export All URLs."
These nifty tools generate a comprehensive list of your site's URLs and content, making it easier to keep track of everything during the migration.
Remember you'll need to organize and prepare your media files, like images and videos, for manual migration as they won't be included in the XML export.
Step #2 – Setting Up Your Webflow Project
Having exported your WordPress content, let's start setting up on Webflow.
Begin by creating a new project, then choose a starter template that closely resembles the design & structure of your current website.
Next, configure site settings. Start by things like the site name, favicon (the small icon that appears on browser tabs), and basic SEO settings.
If you have a custom domain, link it to your Webflow project now. You'll also need to configure the DNS records correctly for a seamless transition. If this sounds confusing, don't worry—Webflow provides step-by-step guides to help you through the process.
Step #3 – Importing Content into Webflow
Now comes the fun part – bringing all of your content into Webflow!
Start by creating Webflow collections matching WordPress content types such as pages, blog posts, custom post types, etc.
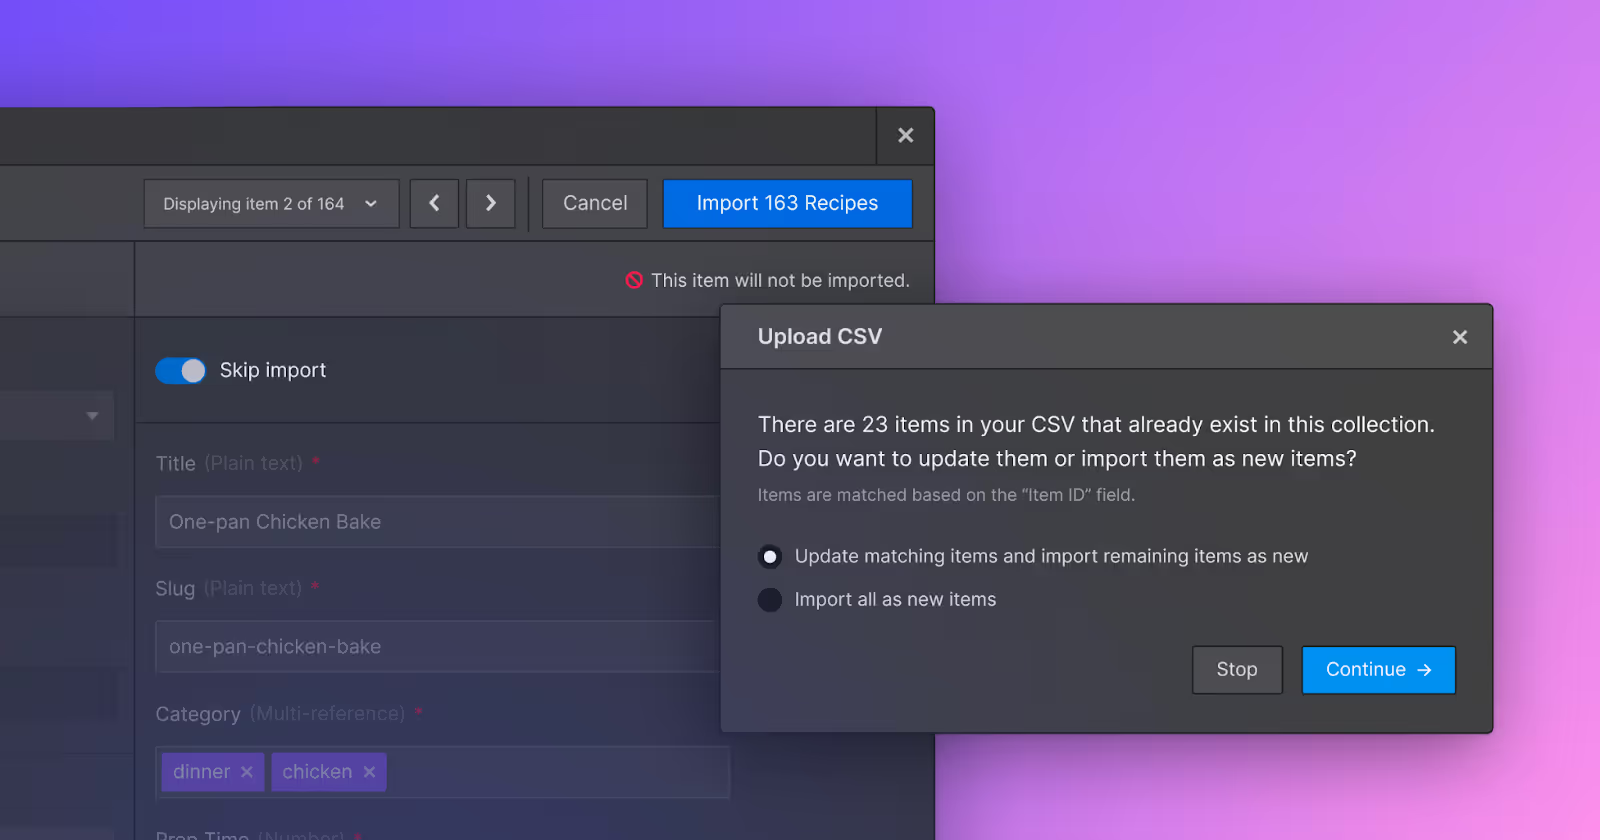
To import the content, use the CSV import method. You will export your content from WordPress into a CSV file and then import it into the appropriate collections within the Webflow. We mentioned two plugins earlier that can help with this ("WP CSV" and "Export All URLs").
During the importing process, map fields from export (WordPress) to corresponding ones in Webflow: text, images, metadata, etc., just make sure everything ends up where it's supposed to be
Step #4 – Recreating Website Structure and Design
Remember to add your styles, typography, and branding elements when you build it. This will give your site its own look and feel. You can even create CSS classes that can be used over and over to keep everything consistent throughout the whole site.
Ensure your website is optimized to look good and work well on different devices with different screen sizes.
With Webflow, you can use the built-in controls for responsive design, ensuring that visitors will have a great experience using a desktop, tablet, or smartphone.
Step #5 – Migrating Custom Functionalities and Integrations
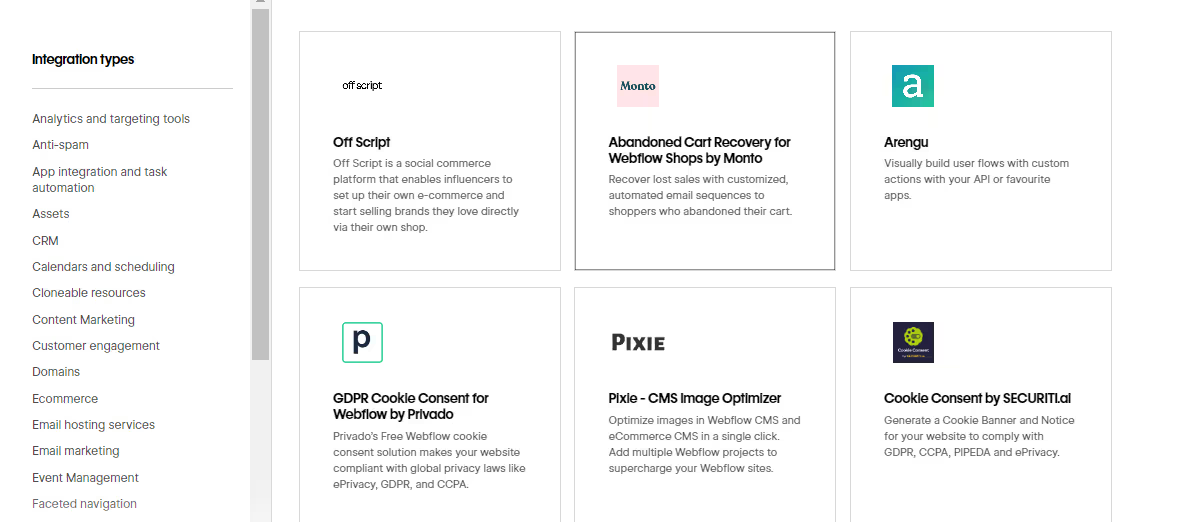
If your previous website has custom functionalities or integrations, such as forms, e-commerce features, or social media feeds, you must migrate these over to Webflow.
First, find these distinctive elements and match them with suitable features or integrations in Webflow. For instance, you can use a built-in Form component in Webflow to rebuild your WordPress forms. Additionally, you can connect your site with other tools and services using third-party integrations through platforms such as Zapier.
Some functions may need custom coding using HTML, CSS, and JavaScript if necessary. With Webflow's Custom Code editor, this process is easier even if you are not a coding pro. Snippets of custom code can be added to specific pages or elements, giving the freedom to create different interactions or features.
Step #6 – Testing and Launching Your Webflow Site

Before launching your new site on Webflow, it is important to test everything out so that the transition goes smoothly. Click through all the pages, test forms, and integrations, and make sure they look good, too!
You can check whether forms are being submitted properly or if the button or error text is off. Similarly, you can check whether integrations are working or if there are any other hassles that you might need to solve.
Once satisfied that everything is working fine, then it's time for launch!
This requires updating DNS settings so that the domain points towards a web-flowing website instead of wordpress, etc.; detailed instructions can be found at various domain registrars by following the instructions provided within their sites.
Keep an eye on performance post-launch by monitoring how visitors interact with the site; Google Analytics helps track traffic volumes and shows areas requiring improvements. Also, built-in analytics offer insights into visitor behavior within particular parts of the site
Post-Migration Tasks and Considerations
Now that you have completed the migration process, your new Webflow site is ready for exploration.
Now, let’s not forget that there are some necessary post-migration tasks and considerations.
Redirecting URLs and setting up 301 redirects
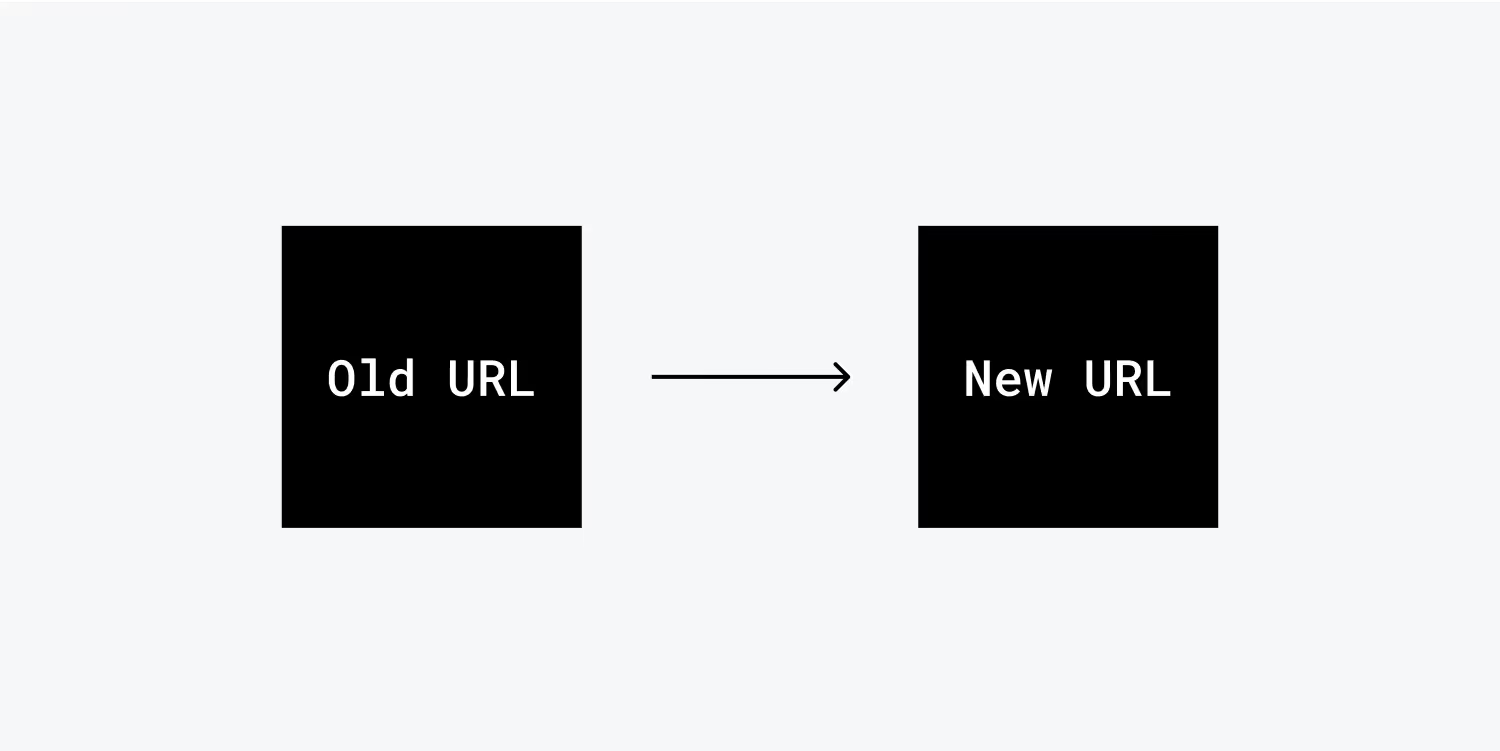
To ensure that all old WordPress URLs lead to your new site, it's important to set up proper redirects.
This helps maintain your SEO value and ensures visitors don't end up on dead-end pages. You can achieve this by using Webflow's built-in 301 redirect feature or by implementing custom code to handle these redirects effectively.
Review and update all the internal links within your Webflow site
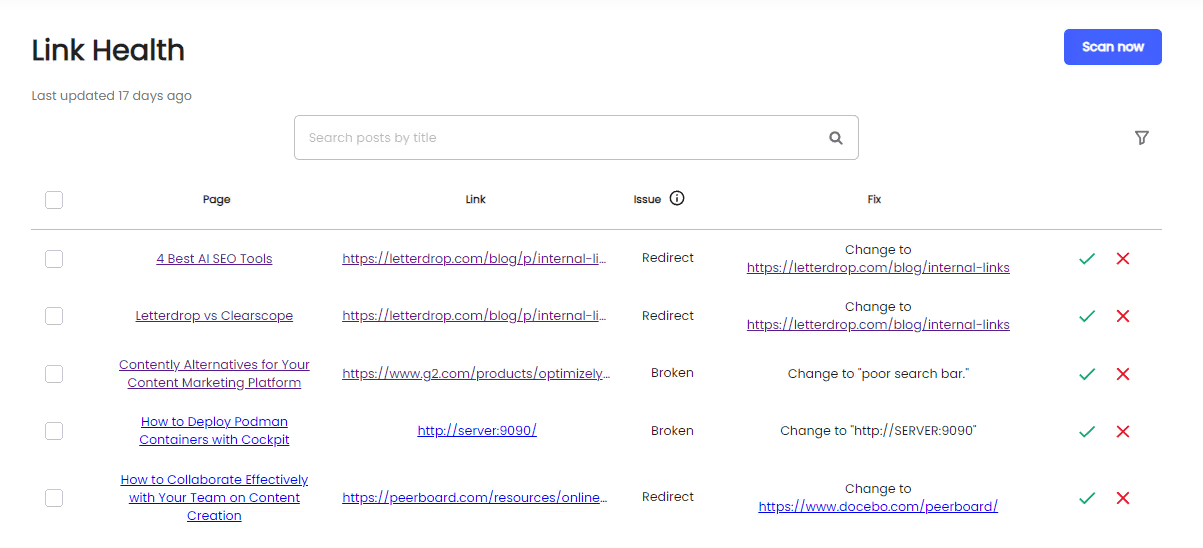
Manually update and ensure there are no broken links on your website that could frustrate visitors. Additionally, reach out to other websites linking to your old WordPress URLs and kindly request them to update their links.
This ensures a seamless experience for your visitors and maintains the integrity of your website's connections.
It takes a while, but it is worth it.
SEO
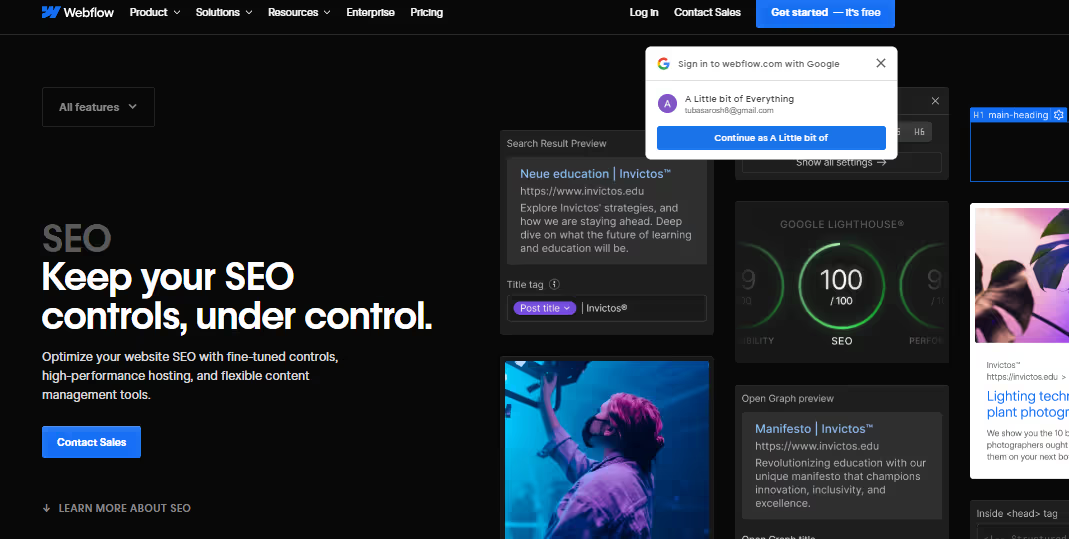
Ensure your new website has optimized SEO for page titles, meta descriptions, and Open Graph tags. Each page should have unique, relevant, and keyword-rich meta tags to boost its visibility on search engines. Customizing these settings in Webflow is simple, so don't skip this step!
Before you consider the migration process complete, thoroughly test your site by clicking through every page. Check for broken links or images, and verify that all forms, integrations, and interactive elements are functioning correctly. This ensures a seamless user experience and prevents any potential issues post-migration.
For example, when Rakuten migrated, their metrics increased dramatically;
- 12.7% increase in pageviews
- 27.9% decrease in bounce rate
- 9.5% increase in new users
- 3.4% increase in pages per session
This wouldn't have happened if they ignored post-migration activities mainly involving SEO.
Test your site's responsiveness and performance across different devices and browsers. You want everyone accessing your site to have a great experience.
Set up analytics and tracking tools like Google Analytics or Fathom
These will enable you to monitor how your visitors behave on the site and keep track of performance metrics so that you can make regular improvements.
Determine goals and events, then use this data to inform decisions about the future of your website.
Choose a Smoother Webflow Migration Experience with Amply
When it comes to migrating from WordPress to Webflow, Amply stands out as the go-to agency for a seamless transition. We ensure your high-ranking content is preserved, maintaining traffic and rankings.
Our approach to domain and directory changes is transparent, providing clear rationale for any adjustments to ensure alignment with your goals. With a comprehensive plan and rigorous testing, we guarantee a smooth migration process.
Our expertise in 301 redirects minimizes crawl errors and maintains link integrity, while our meticulous link management ensures accuracy. We optimize the 404 error page for enhanced user experience and establish clear performance metrics to measure success.
Post-migration, we monitor residual traffic using Google Webmaster Tools and consider seasonal popularity for timely execution, minimizing disruptions. With Amply, migration is efficient and effective, setting you up for success in the digital landscape.
Don’t want to lose your precious website due to a reckless migration process? Book a discovery call with us right away!


.avif)


