


About Mailchimp
Mailchimp is an all-in-one marketing platform designed to help businesses connect with their audience through email. It’s widely known for its easy-to-use tools that let you build and send newsletters, set up automated email flows, and manage your contact lists in one place.
With Mailchimp, you can segment your audience, personalize communication based on how people interact with your site or content, and analyze campaign performance with built-in reporting. It also supports a wide range of integrations, making it easier to connect with other tools in your stack — including Webflow.
Whether you’re a small business, a fast-growing startup, or a solo creator, Mailchimp gives you the tools to run effective marketing campaigns without needing a full team.
How to Integrate Mailchimp with Webflow (Step-by-Step)
1. Connect Webflow to Mailchimp using Zapier
This is the most flexible and automated way to integrate Webflow with Mailchimp. With Zapier, you can send form submissions from Webflow directly to your Mailchimp audience, apply tags, and even trigger custom email flows.
Step-by-step process:
1. Go to Zapier’s Webflow + Mailchimp integration page.
2. Log in or create a free Zapier account.
3. Click “Connect Webflow + Mailchimp.”
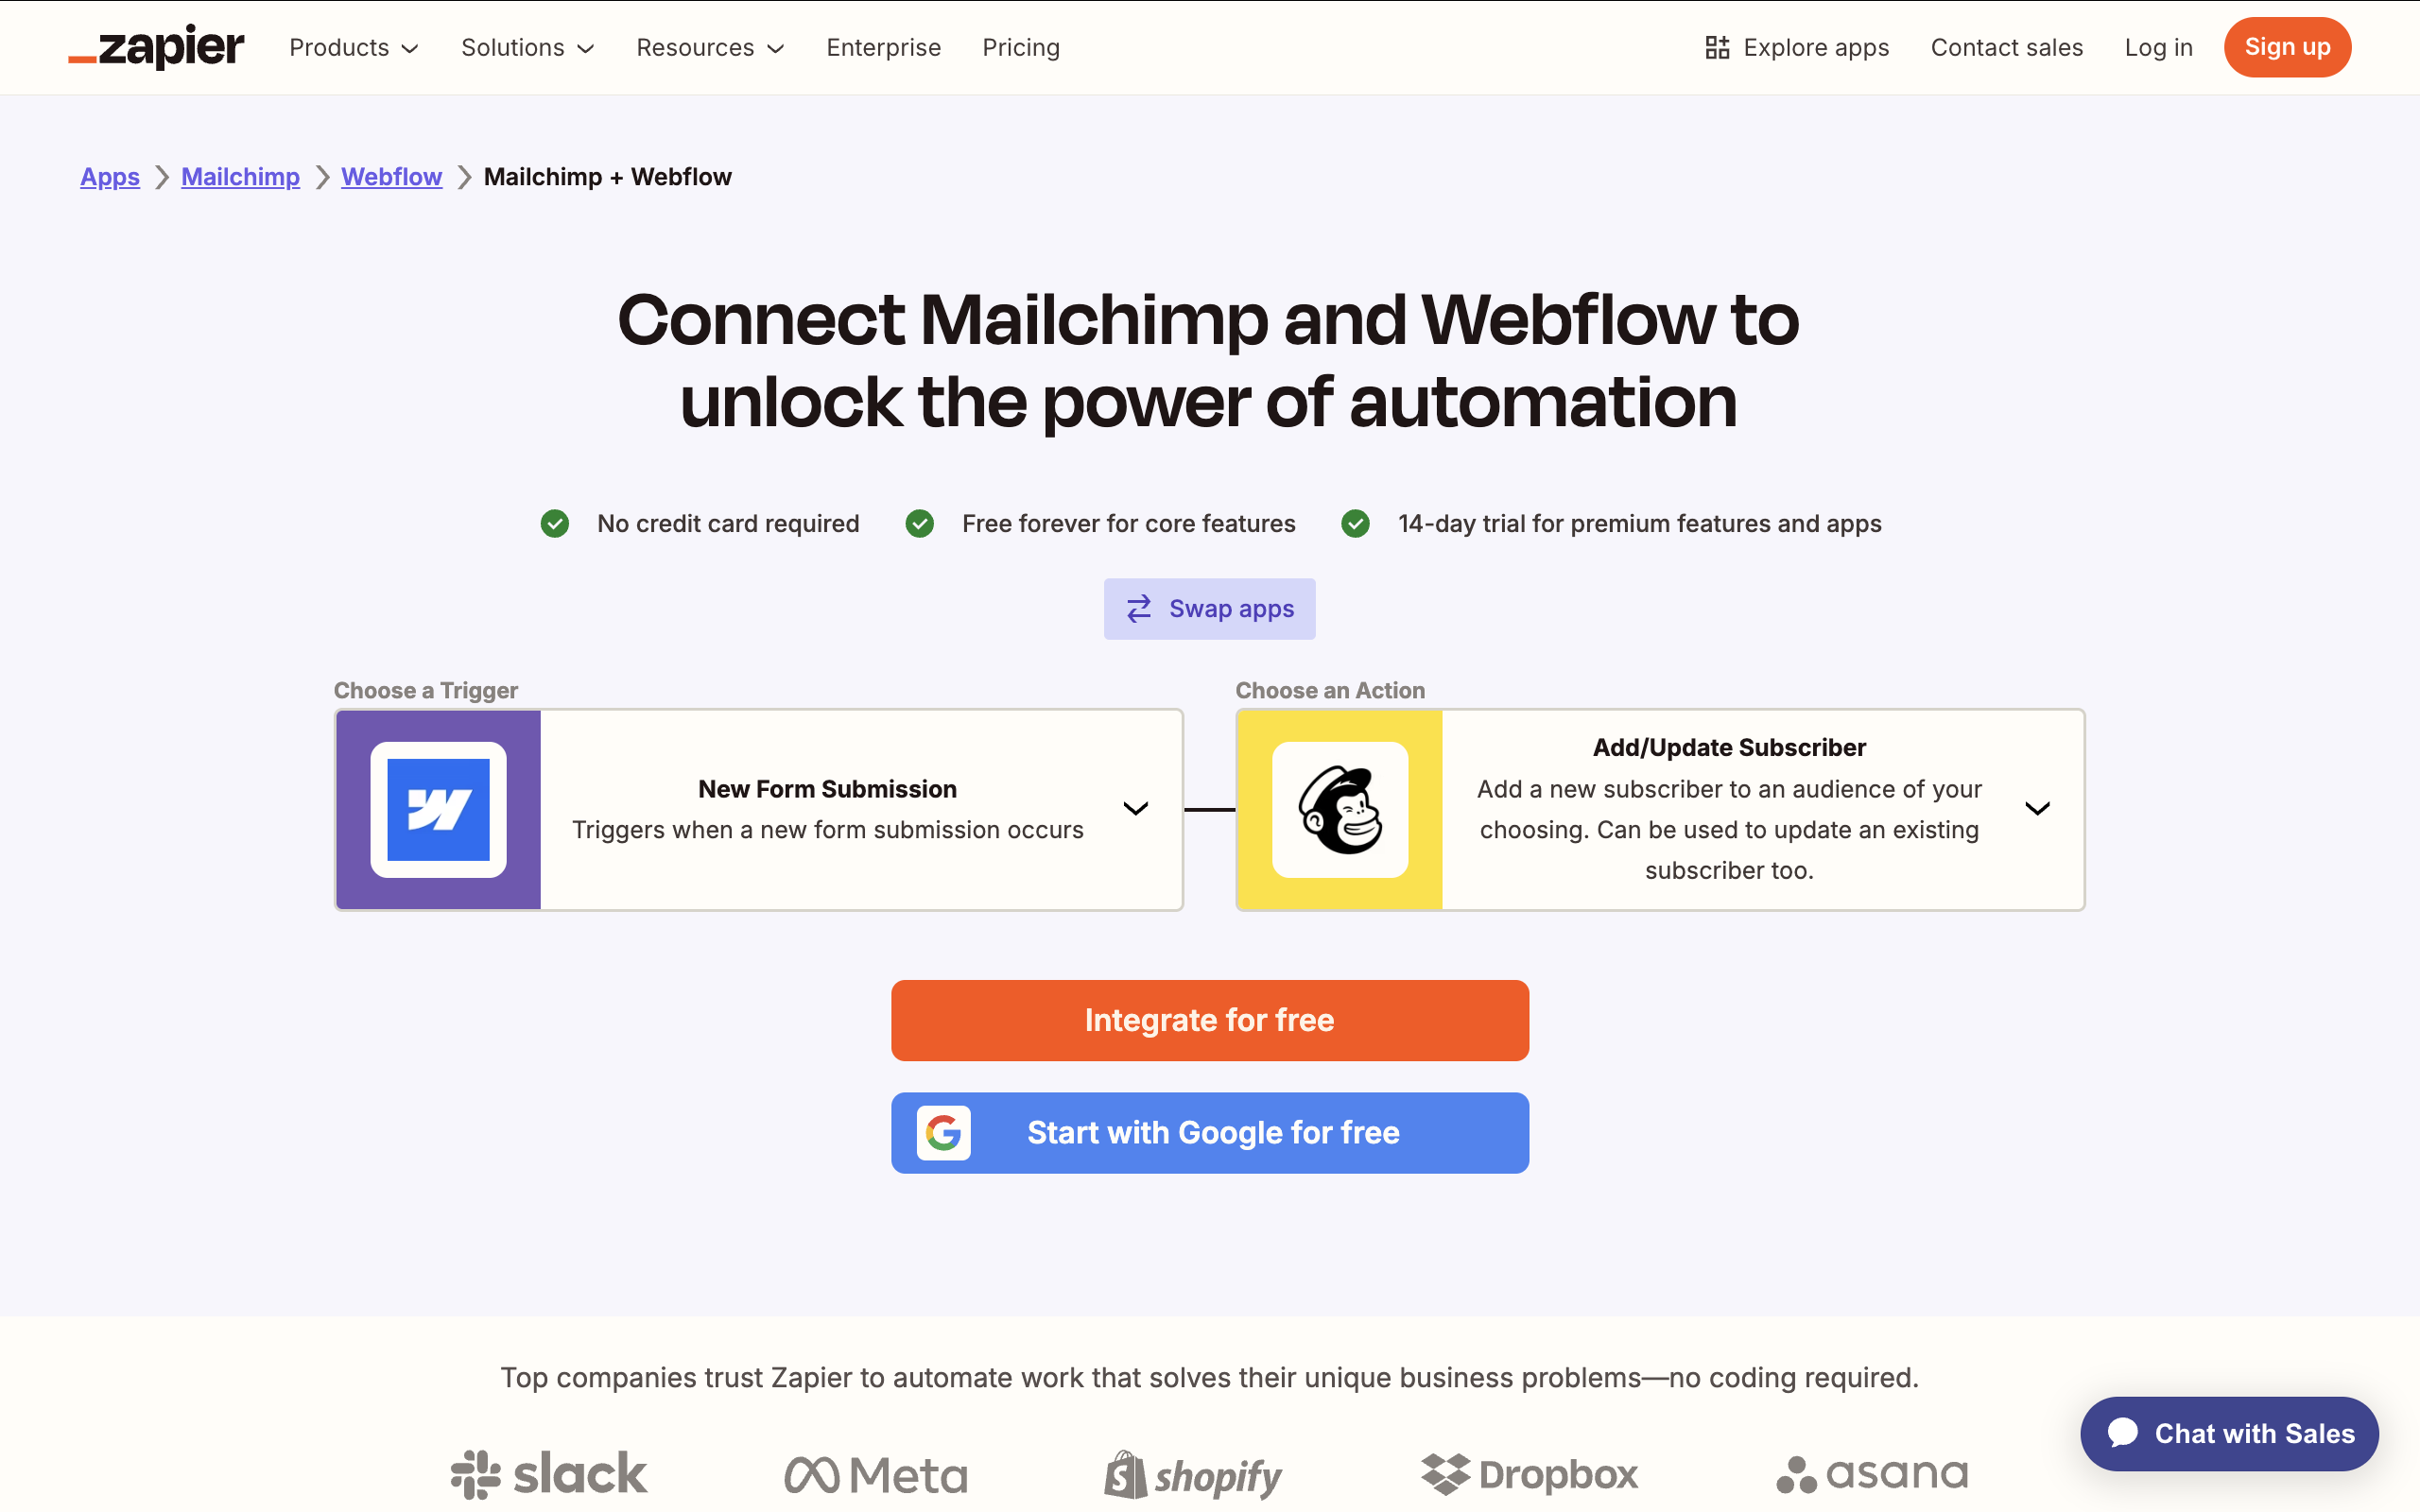
4. Choose the trigger app: Webflow
- Trigger Event: Form Submission
5. Connect your Webflow account and select the correct site and form.
6. Choose the action app: Mailchimp
- Action Event: Add/Update Subscriber
7. Connect your Mailchimp account.
8. Choose the Mailchimp list you want to add subscribers to.
9. Map the form fields from Webflow to the fields in Mailchimp (like Email, Name, etc.).
10. Test your Zap to make sure everything works.
11. Turn on your Zap.
Once set up, every time someone fills out your Webflow form, Zapier will send their info to Mailchimp — automatically.
2. Embed a Mailchimp Form in Webflow
If you don’t want to use Zapier, you can embed a Mailchimp signup form directly into your Webflow site. This method doesn’t require any third-party tools but offers less flexibility and control.
Step-by-step process:
1. Go to your Mailchimp Dashboard and navigate to Forms > Other forms.
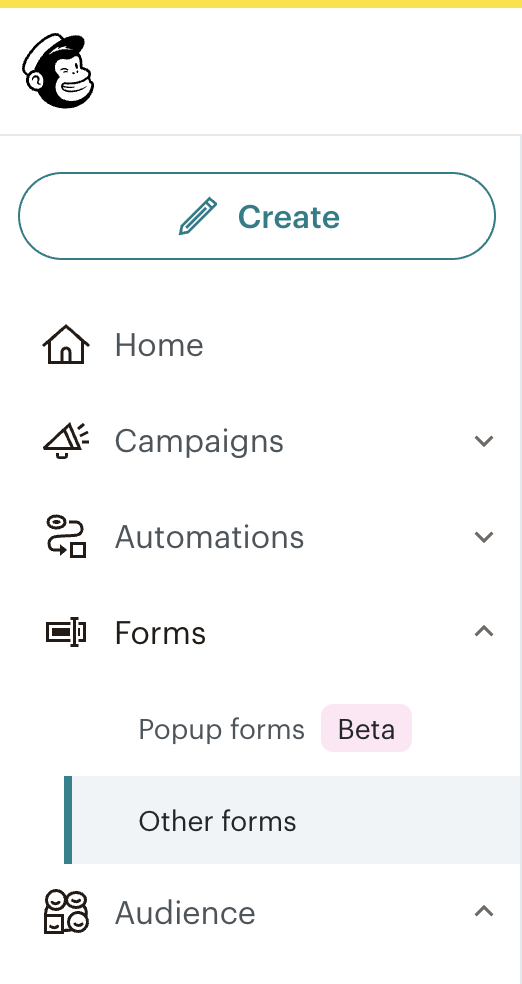
2. Click on Create New Form, then click on Embedded forms.
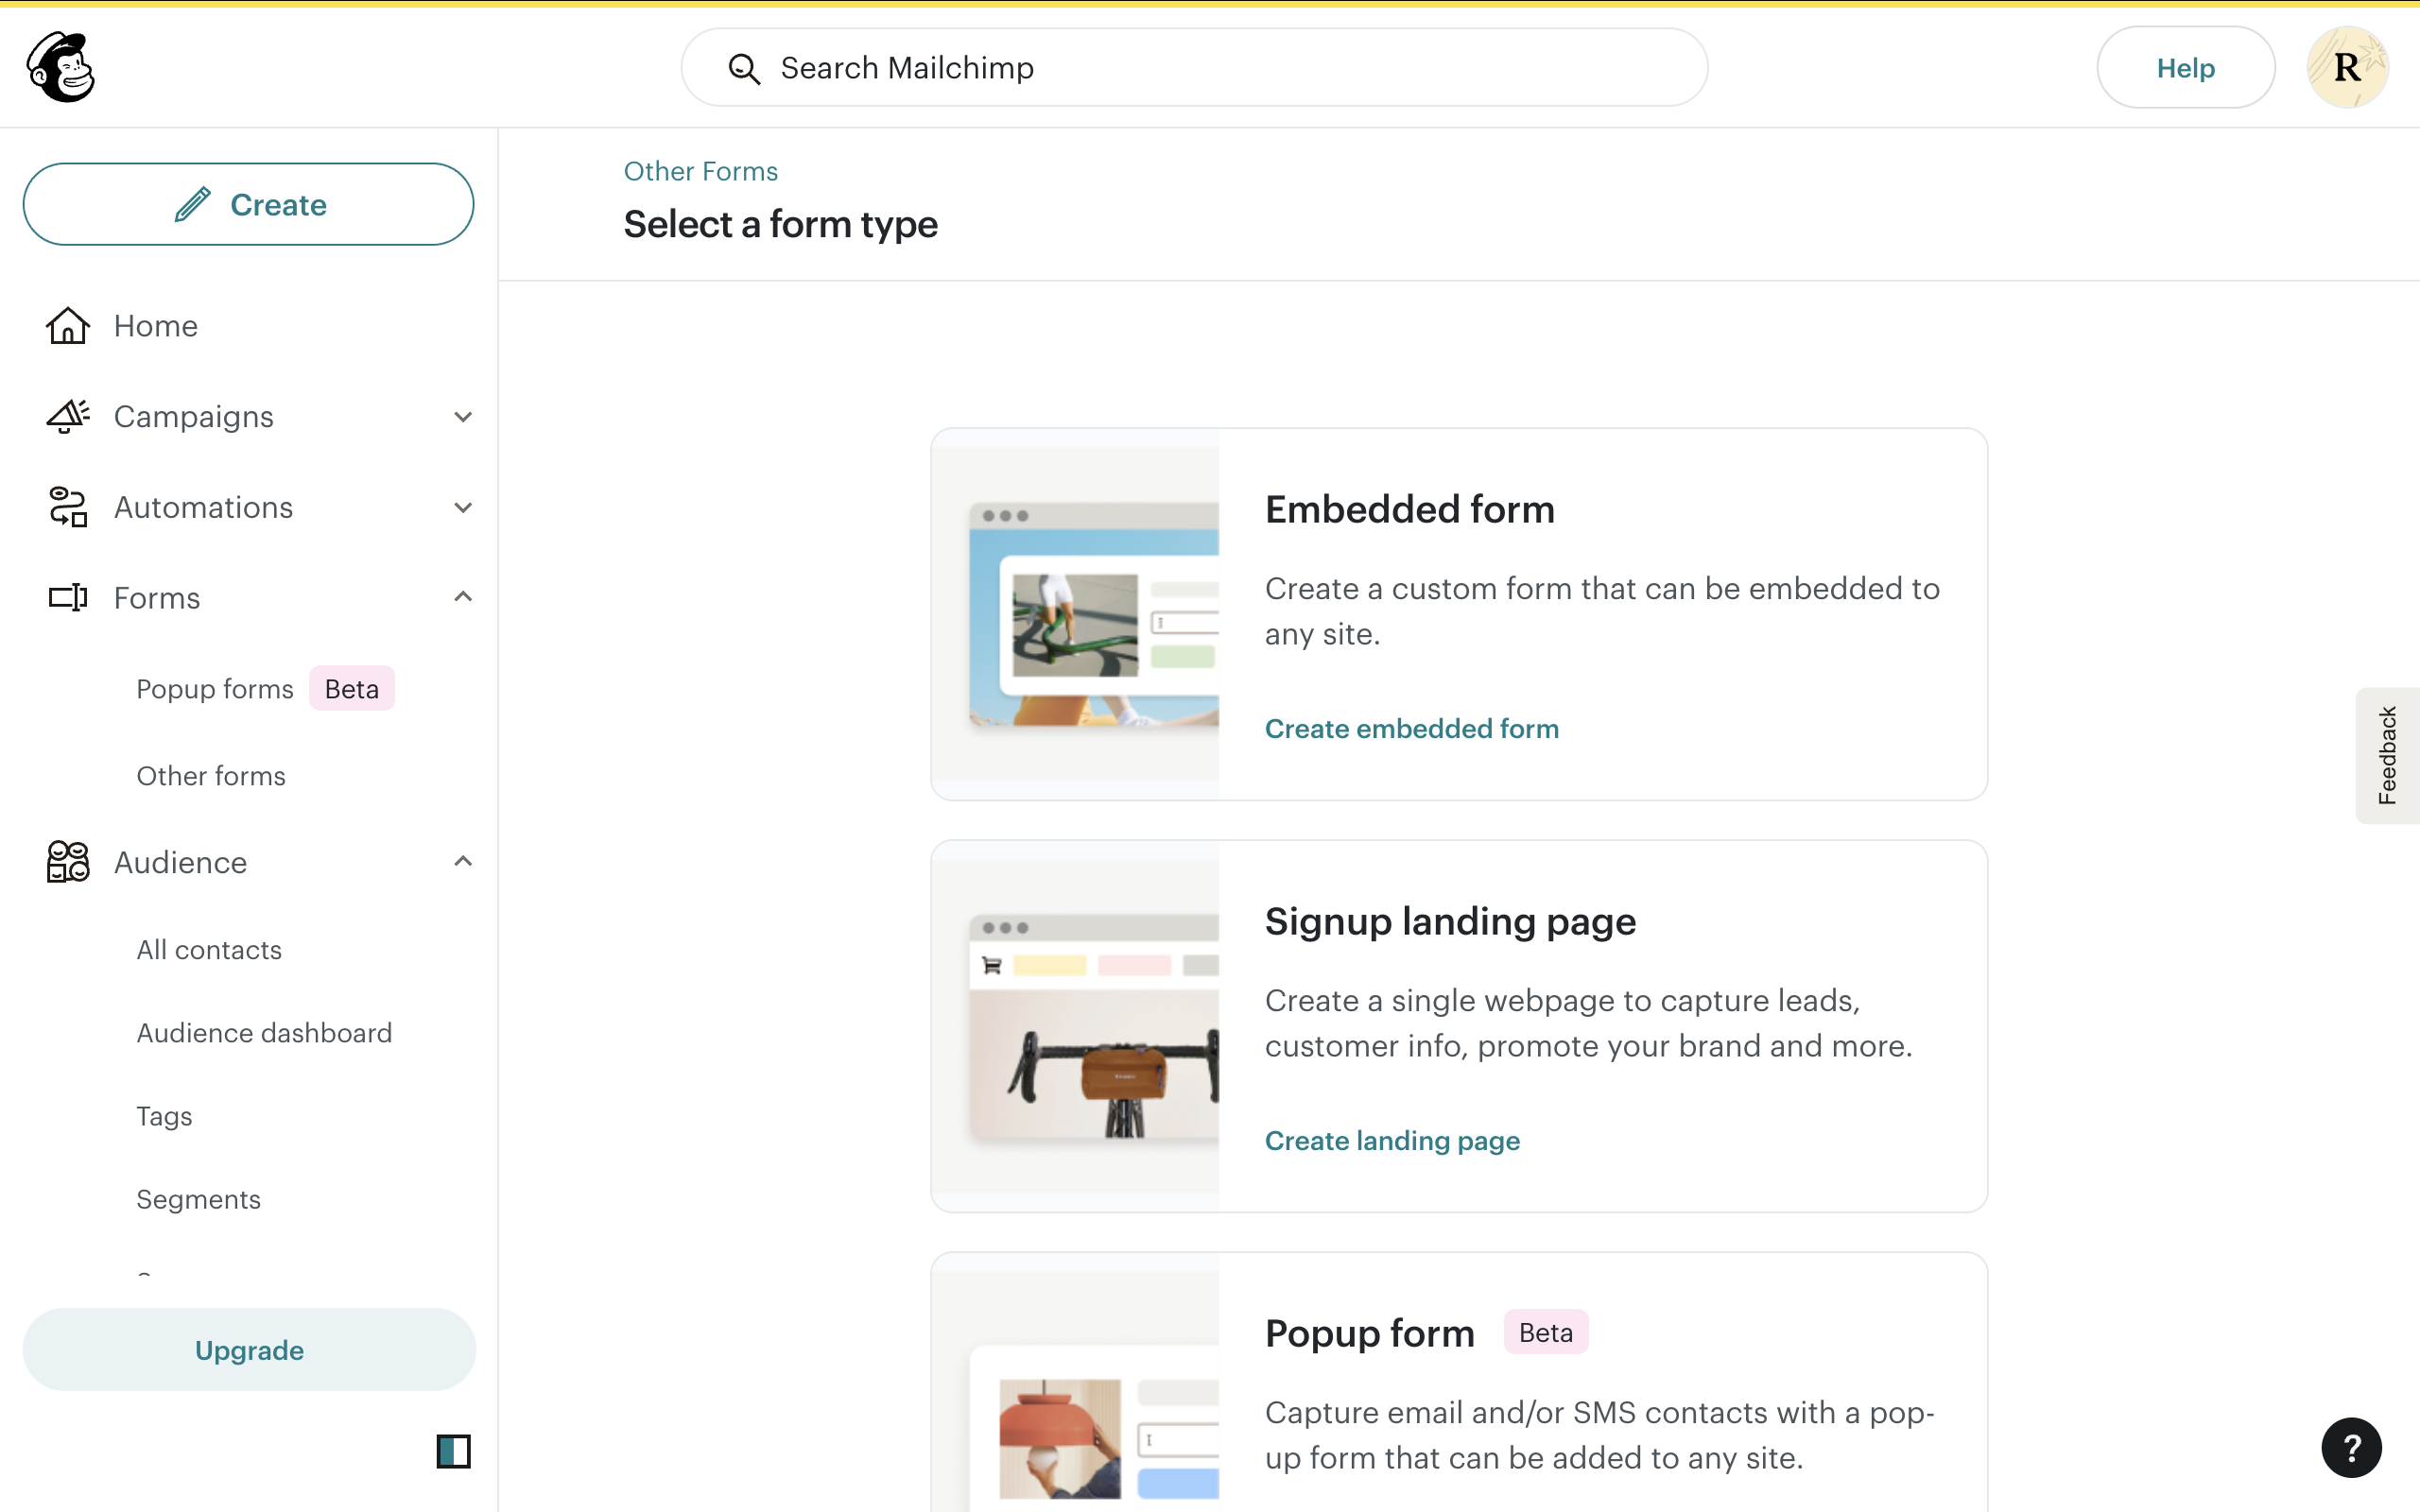
3. Customize the form fields, title, and styling as needed.
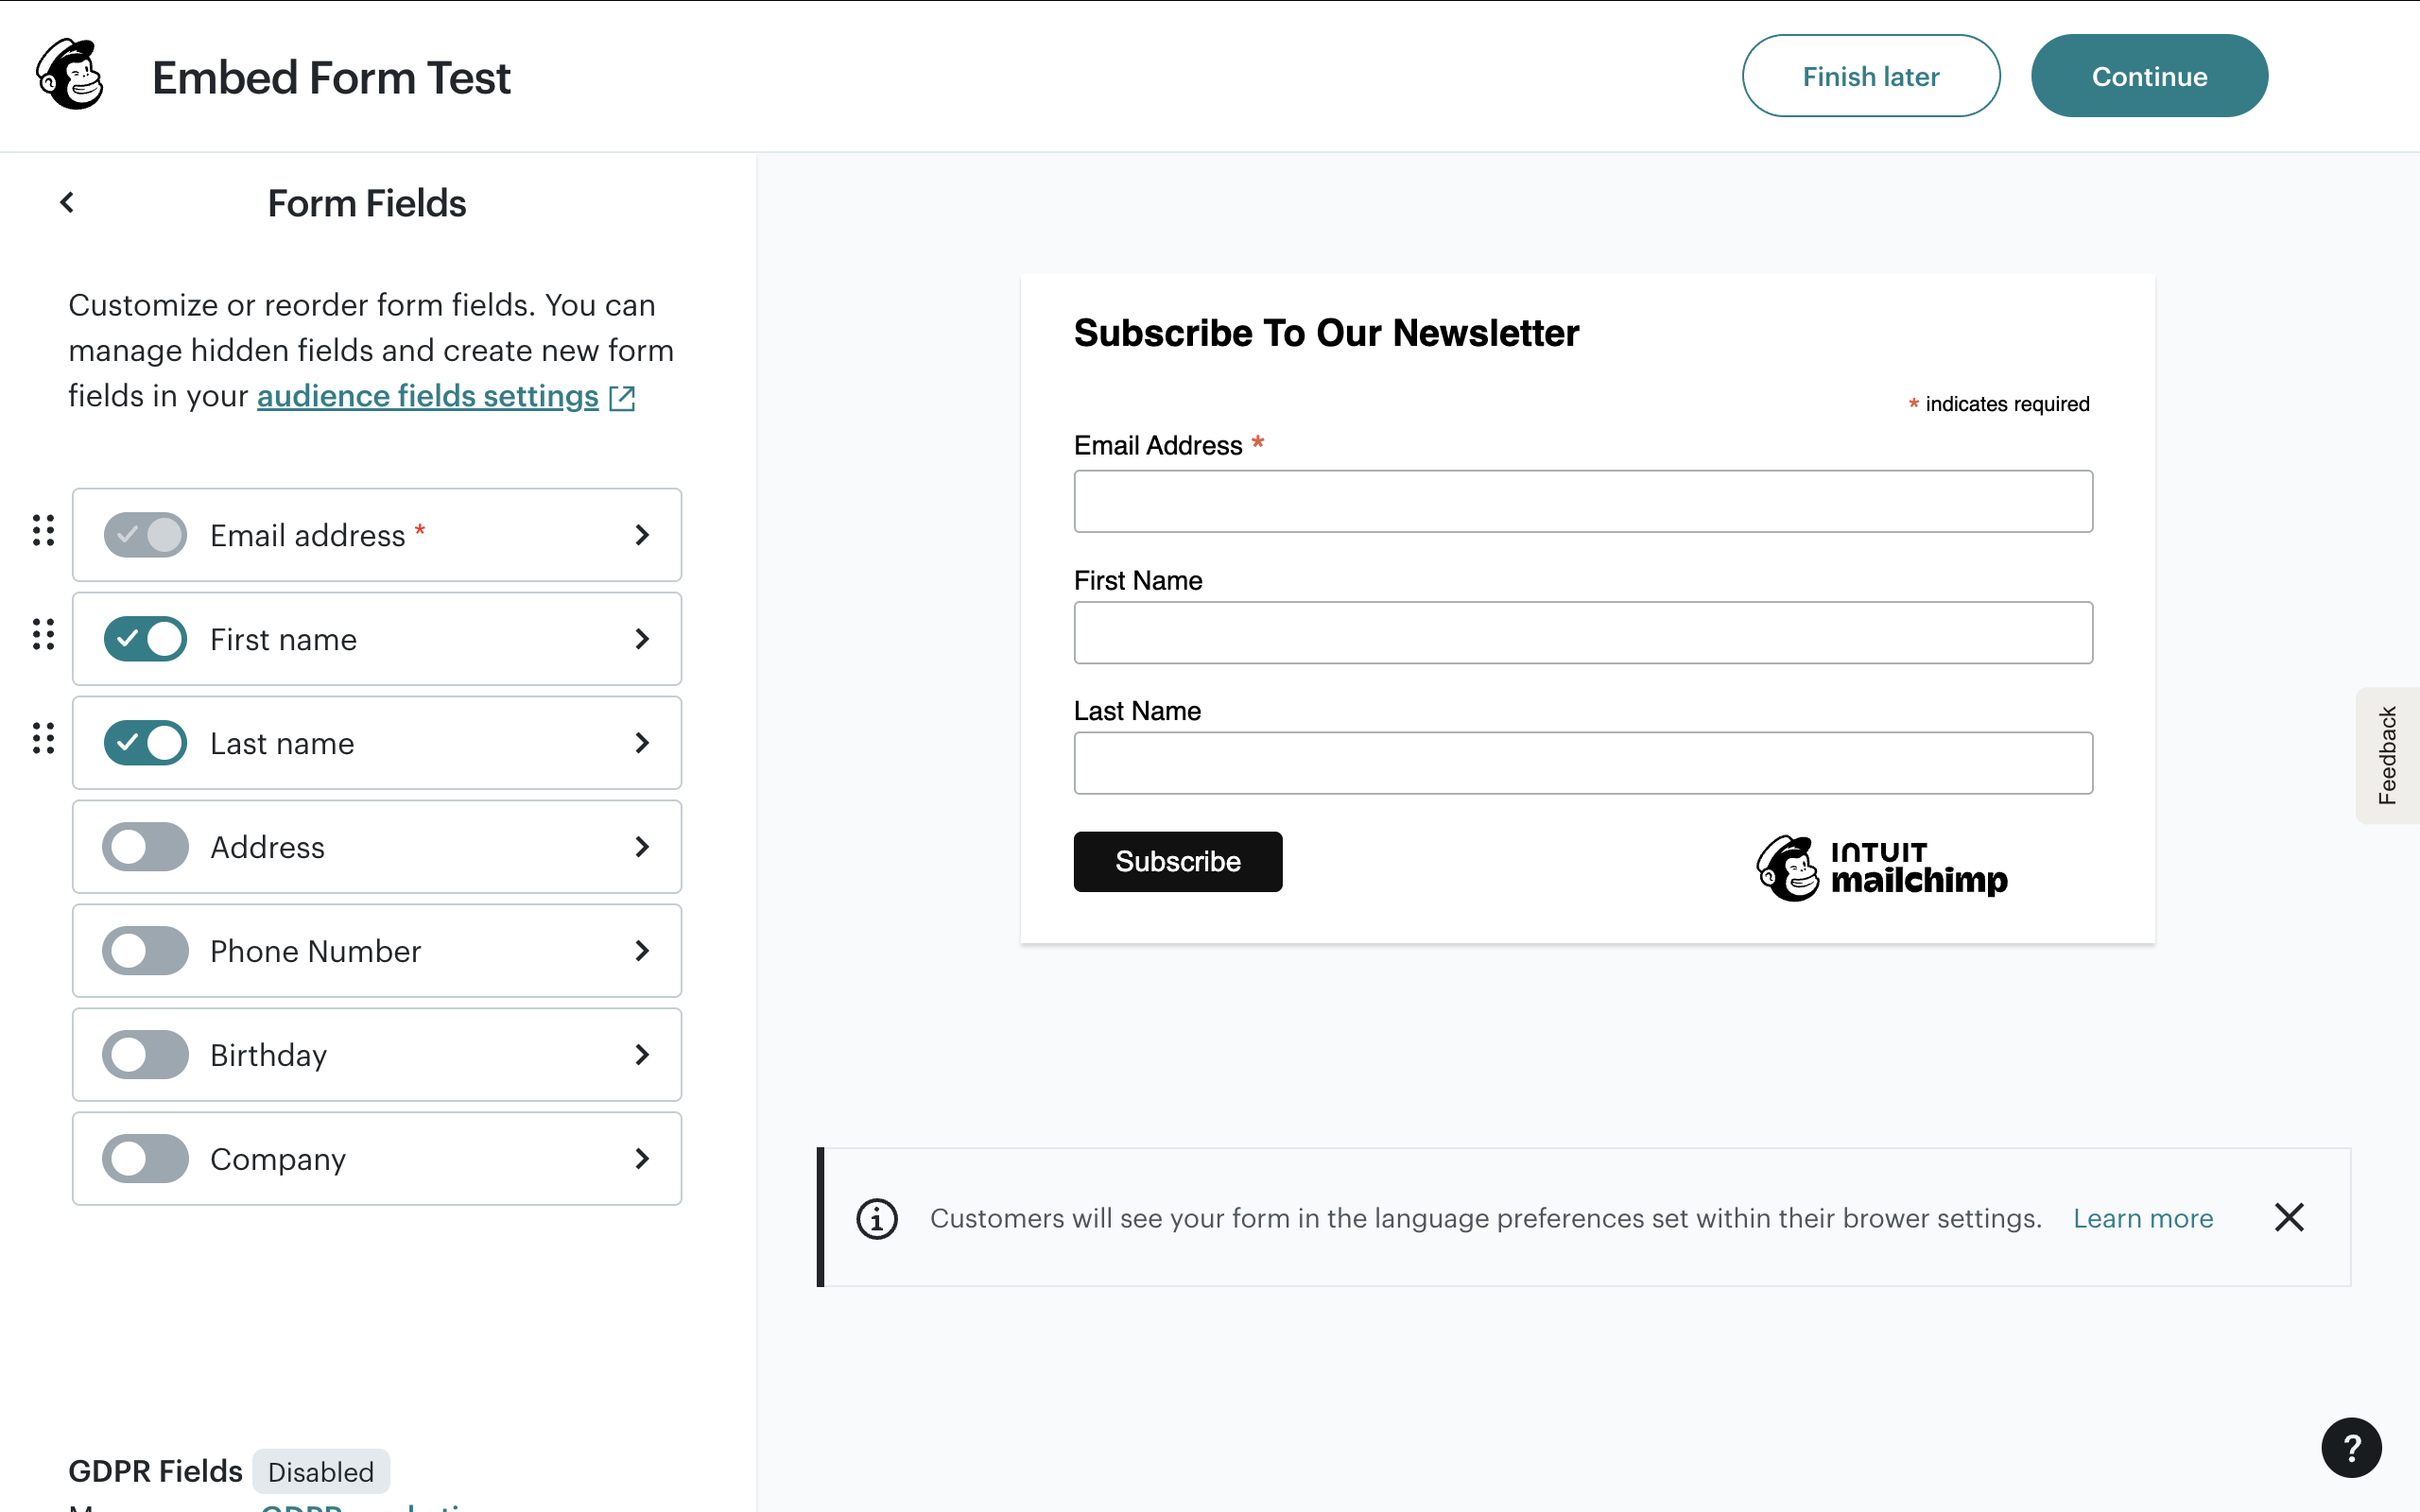
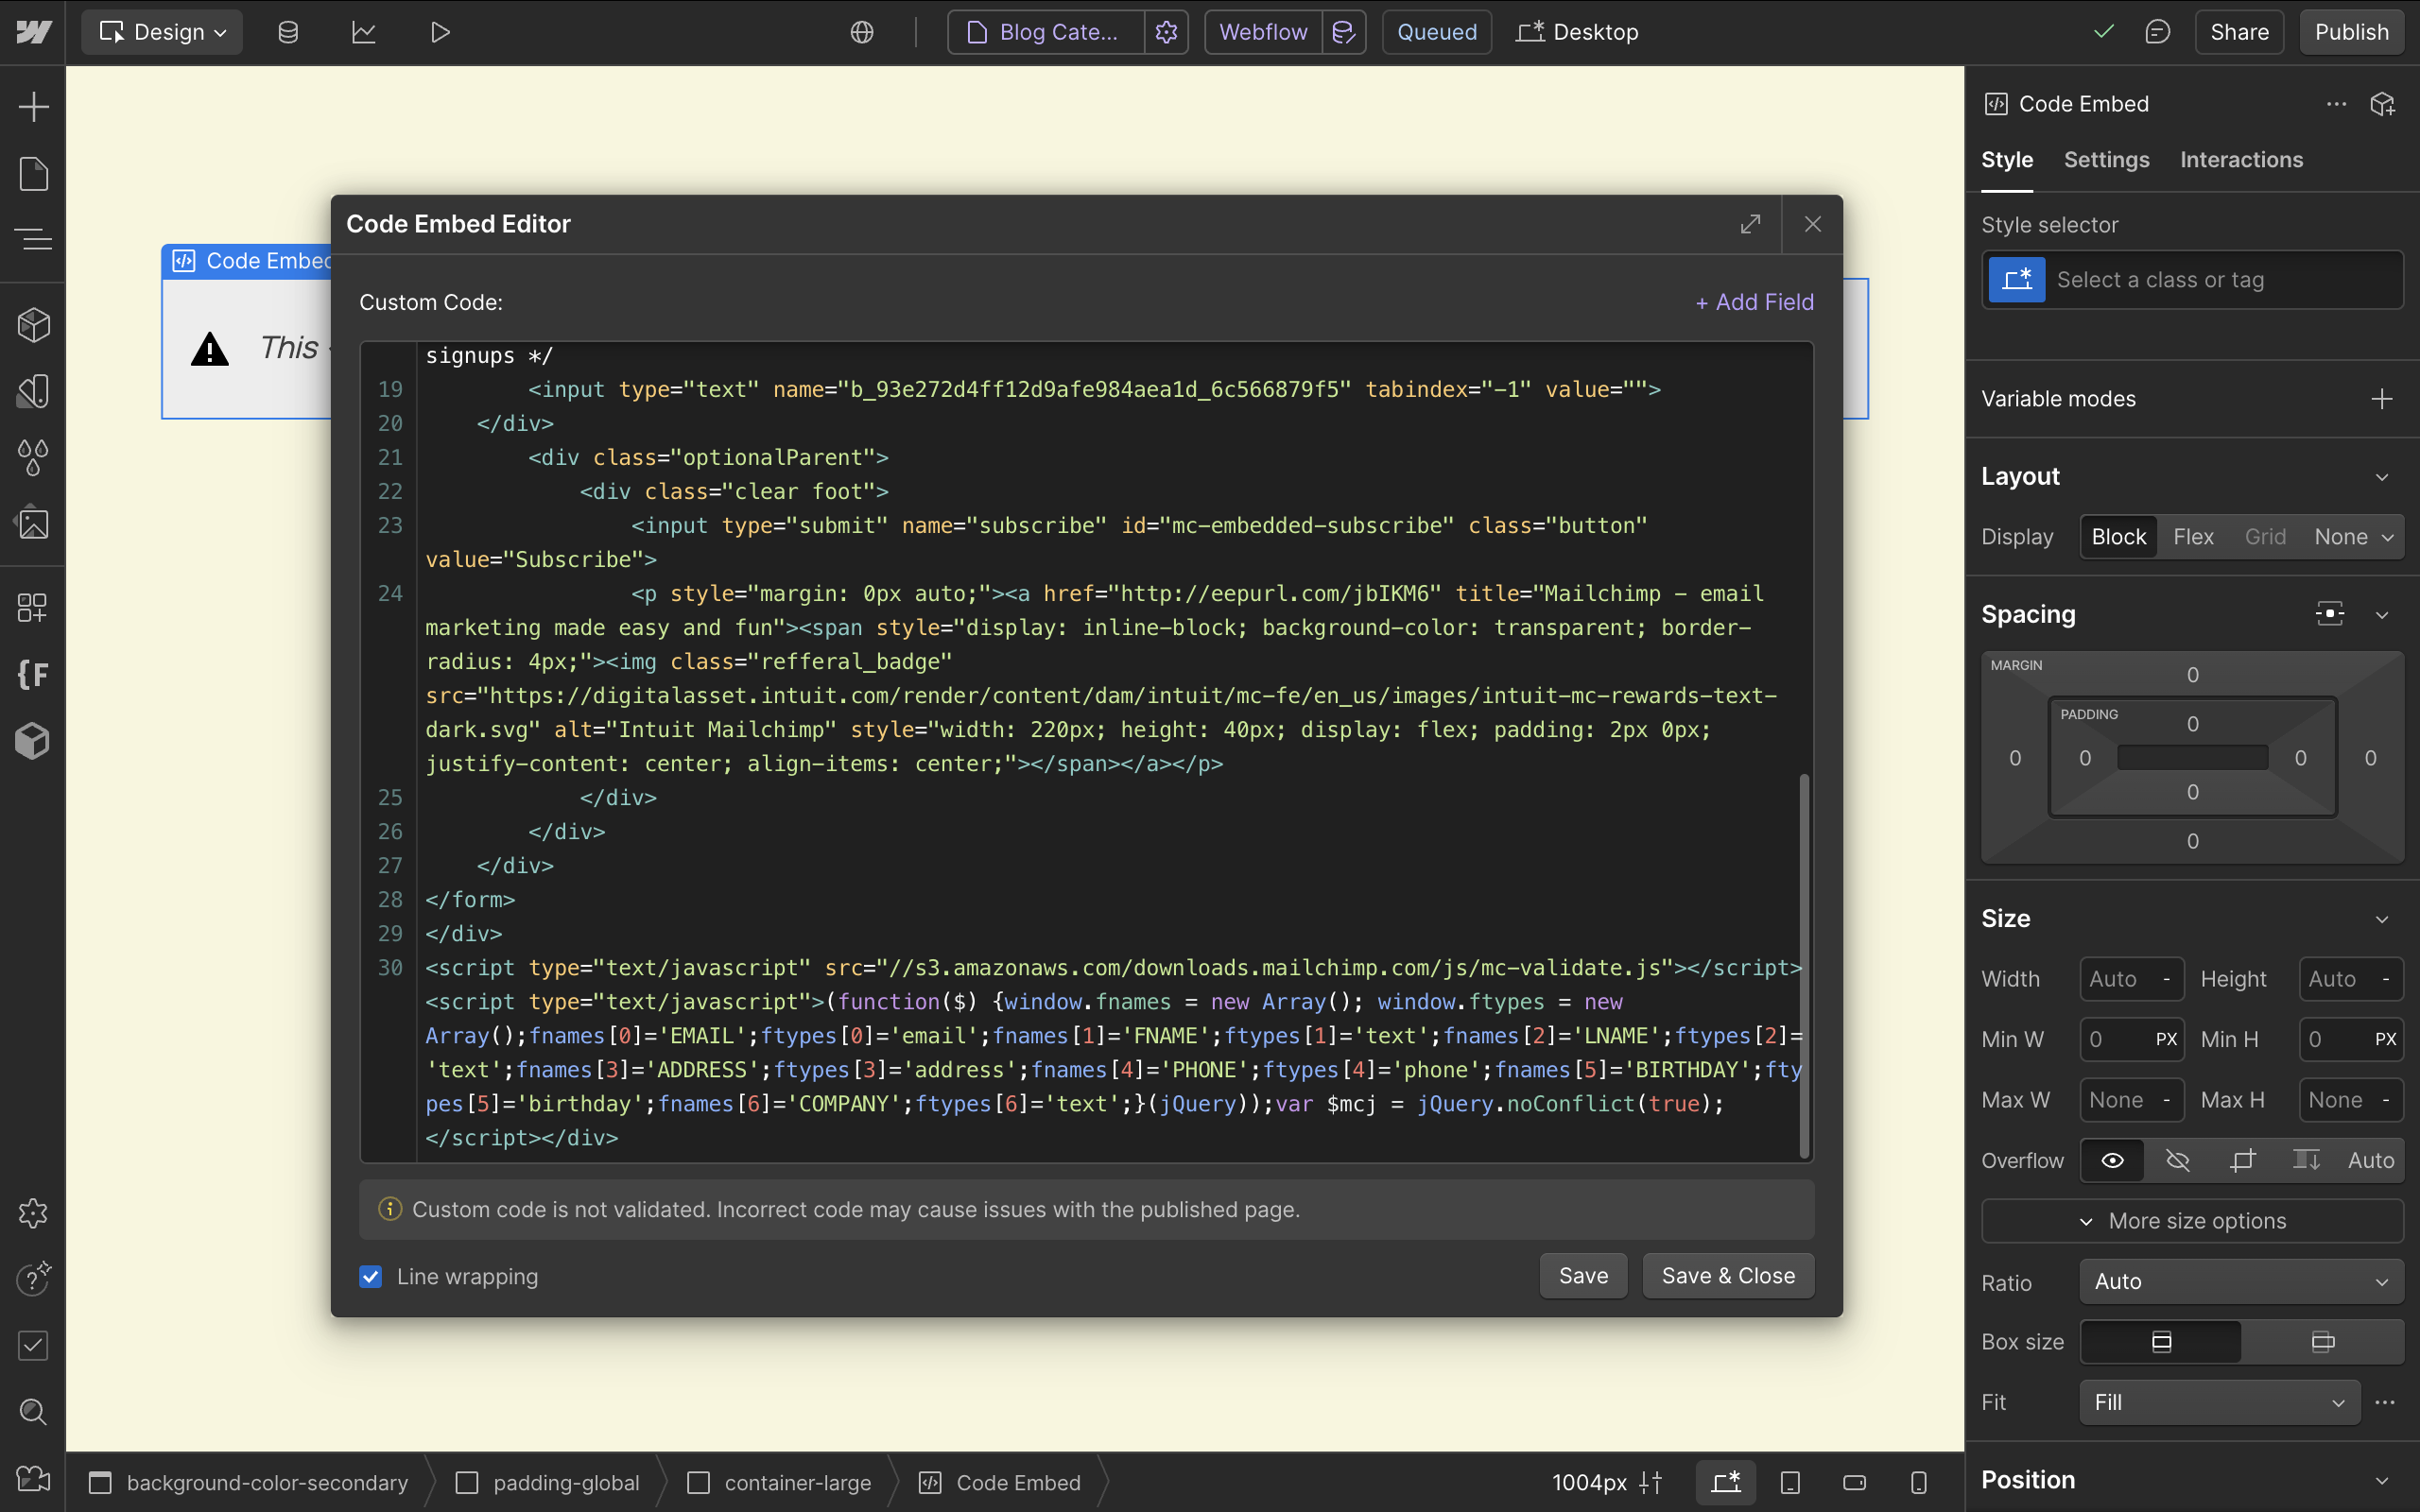
4. Copy the HTML embed code provided by Mailchimp.

5. In Webflow, go to the page where you want the form to appear.
6. Drag in an Embed element from the Add panel.
7. Paste the Mailchimp form code into the embed field.
8. Save and publish your Webflow site.
That’s it — your Mailchimp form is now live on your Webflow site. Submissions will go straight into your selected Mailchimp audience.
Common Challenges When Connecting Webflow to Mailchimp
Even though the integration sounds simple, there are a few common issues that can come up — especially if you’re trying to automate everything or create custom workflows.
1. Fields Don’t Match Up
If the form fields in Webflow don’t match the required fields in your Mailchimp audience, the sync can fail or skip important data.
2. Missed or Incomplete Submissions
Without proper testing, it’s easy to miss form submissions due to broken Zaps, incorrect embed setup, or errors in mapping.
3. No Tagging or Segmentation
If you’re using embedded forms, it’s harder to apply tags or segment users based on how they signed up — which limits your ability to personalize follow-ups.
4. Styling Issues with Embedded Forms
Mailchimp’s default embed forms can sometimes look out of place inside Webflow. Customizing the design often requires manual CSS adjustments.
5. Hard to Track What’s Working
If your setup isn’t integrated with analytics or email performance data, it’s tough to know what’s driving signups or how well your emails are converting.
How Amply Helps with Webflow–Mailchimp Integration
We’ve helped marketing teams, startups, and creative businesses set up reliable, automated connections between Webflow and Mailchimp — without the stress.
Whether you're using Zapier or embedded forms, we make sure everything works smoothly, looks good on your site, and helps you get the most out of your email marketing.
Here’s what we take care of:
- Setting up your forms in Webflow the right way (including fallback measures)
- Connecting Webflow to the right Mailchimp list using Zapier
- Mapping custom fields and handling tag-based segmentation
- Testing every path to make sure no lead ever slips through
- Styling embedded forms so they match your website design
- Making sure you're set up for analytics and campaign tracking
If you're not sure which method to choose — or want to make sure it's done right the first time — Book a call with Amply. We're happy to help.

.svg)


.avif)


.avif)


.svg)


.avif)
.avif)


.avif)
.avif)


